Gene Panels
In this section, you can add gene panels so that you can filter the discovered variants by them. The gene panel is a set of genes of interest (for example, genes associated with a specified phenotype).
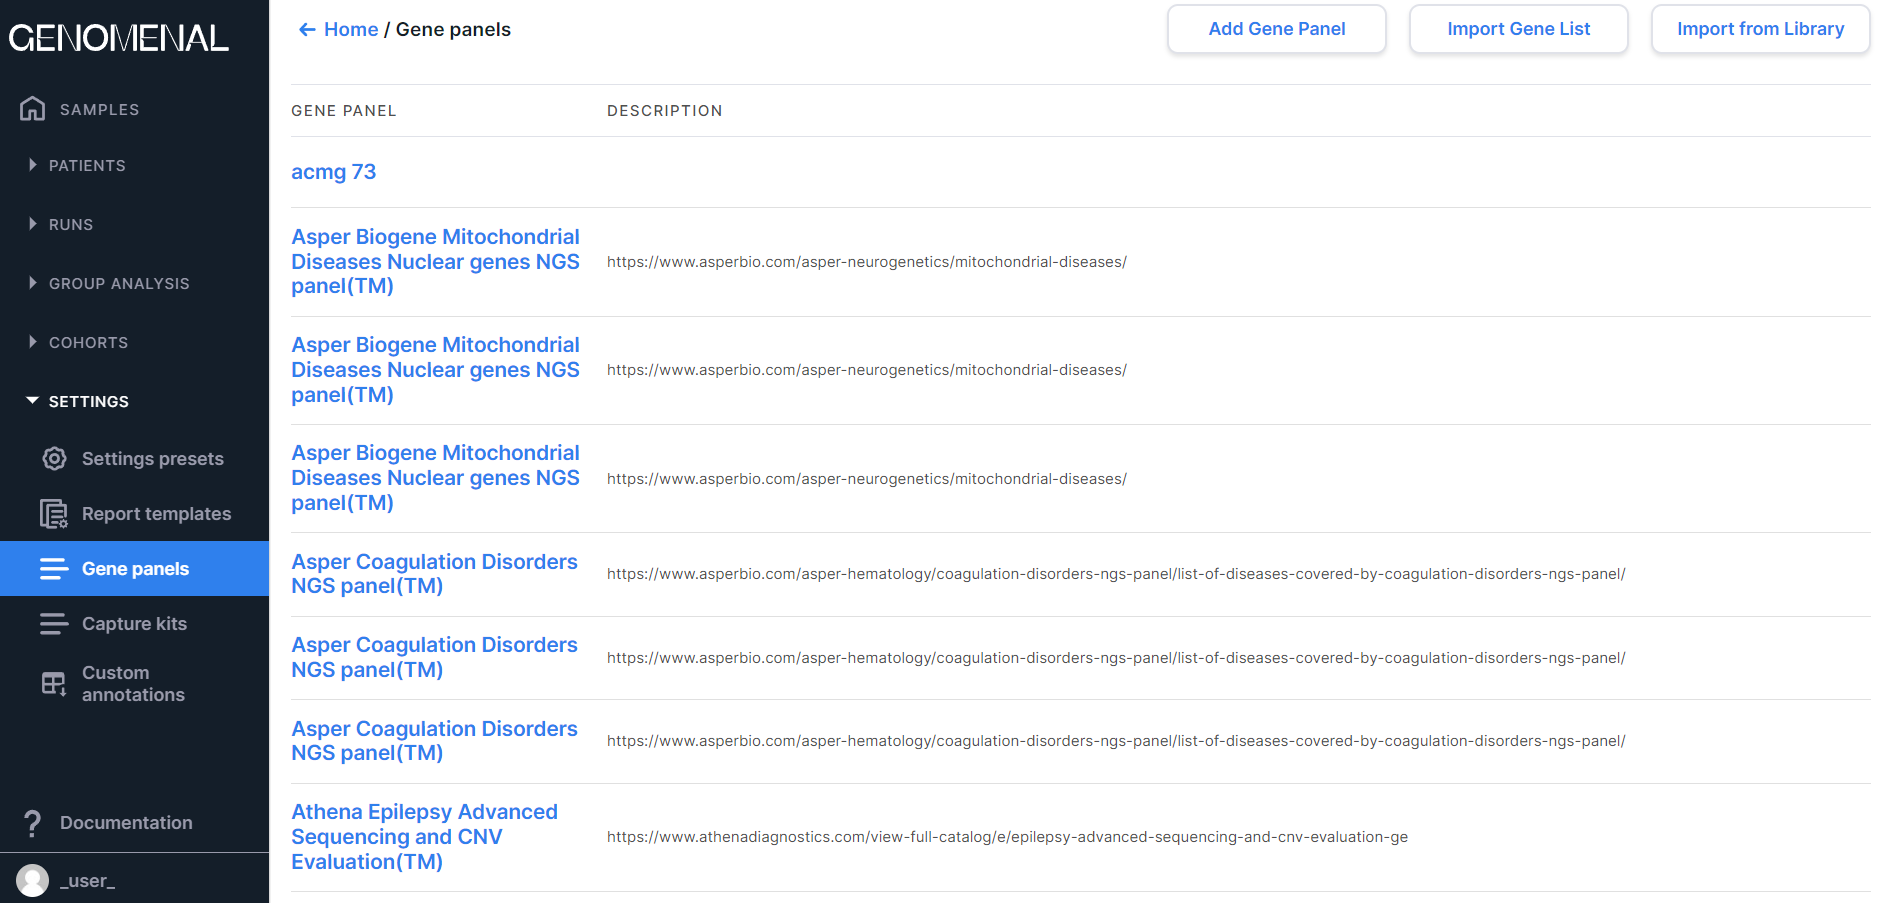
To open the section with gene panels, go to the "Gene panels" page from the "Settings" page block through the navigation panel on the left:
Add a gene panel#
There are 4 ways to add a panel to the system:
- Selection of genes of interest from all genes (by name or Ensembl code);
- Adding genes associated with a certain phenotype from HPO;
- Import of a pre-prepared gene list;
- Import panel from the library of the most common clinical panels.
tip
When adding a panel, the first and second ways can be combined.
1. Adding genes from the list of all genes to the panel#
- Click on
 to open the form of
adding a gene panel:
to open the form of
adding a gene panel:

In the opened form, enter gene panel name in the Name field. You can also add a panel description.
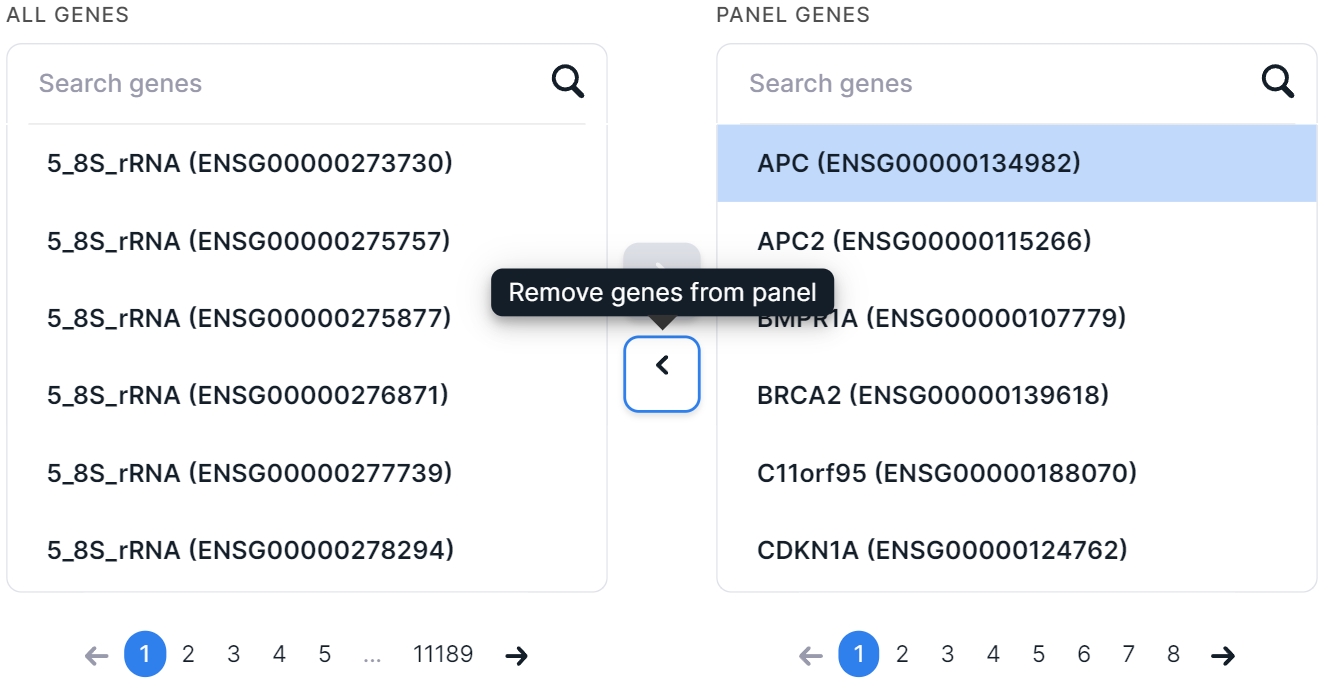
Add genes to the panel. To do this, enter official gene symbol or Ensembl gene ID (ENSG...) into the search box. Among the found genes, select one or several ones, click on its/their row(s), and then click on
 :
:

Among the genes added to the panel, you can search, as well as remove genes from the panel (to do so, click on the
gene row, and then click on ![]() ):
):

- After you have added all the needed genes to the panel,
click on
 .
A gene panel will be added to the system.
.
A gene panel will be added to the system.
2. Adding genes associated with HPO phenotypes to the panel#
- Click on to open the form of
adding a gene panel:
In the opened form, enter gene panel name in the Name field. You can also add a panel description.
Click on
 .
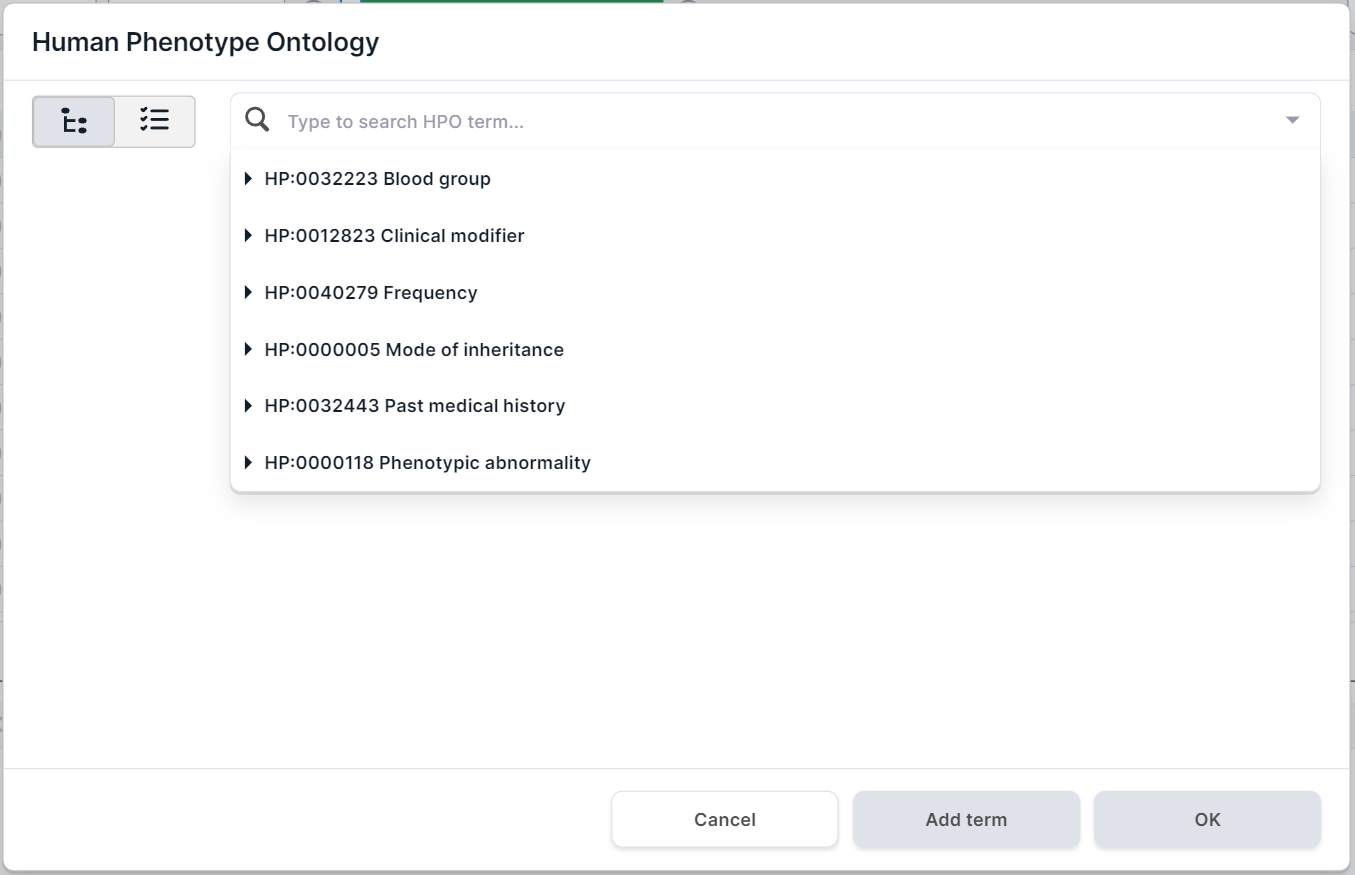
You will see Human Phenotype Ontology (HPO) phenotype search form.
The form presents the main groups of phenotypes in the drop-down list:
.
You will see Human Phenotype Ontology (HPO) phenotype search form.
The form presents the main groups of phenotypes in the drop-down list:
- Search and select phenotypes with which the genes you want are associated in one of the following ways:
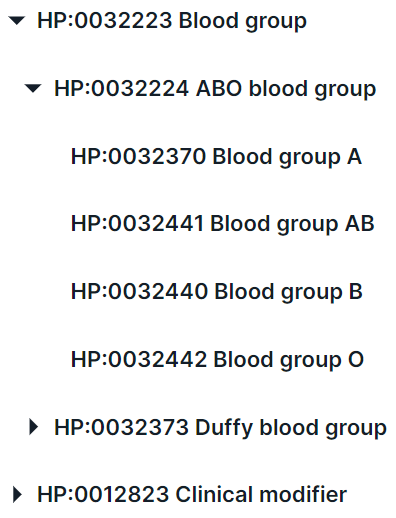
- Search for a phenotype in the drop-down list. You can interact with phenotype groups
using
 and
and  to
expand and collapse the list of group phenotypes, respectively:
to
expand and collapse the list of group phenotypes, respectively:
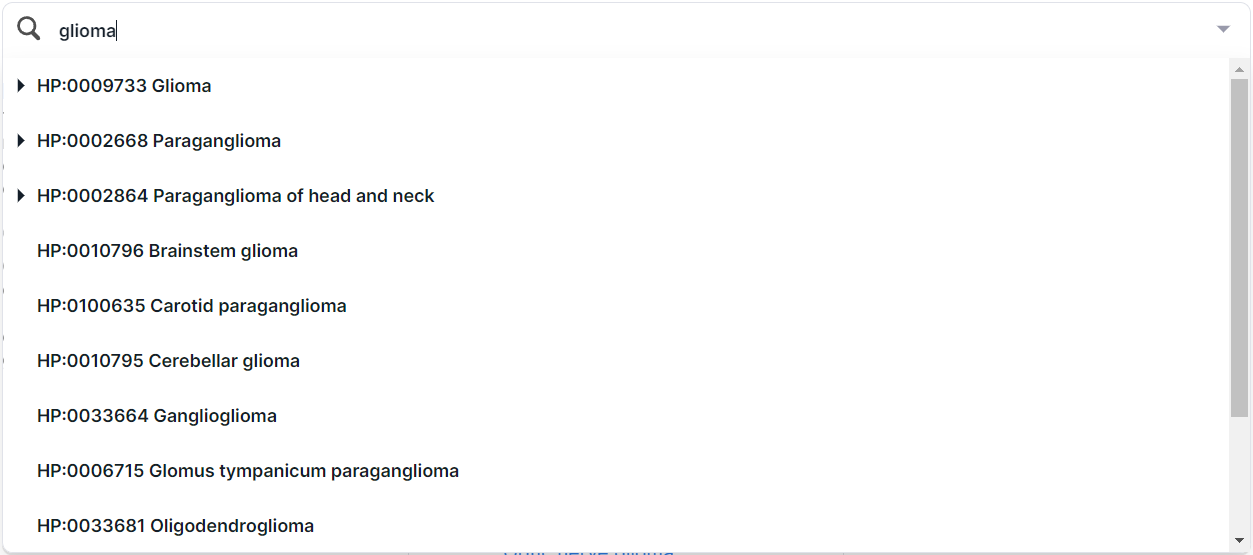
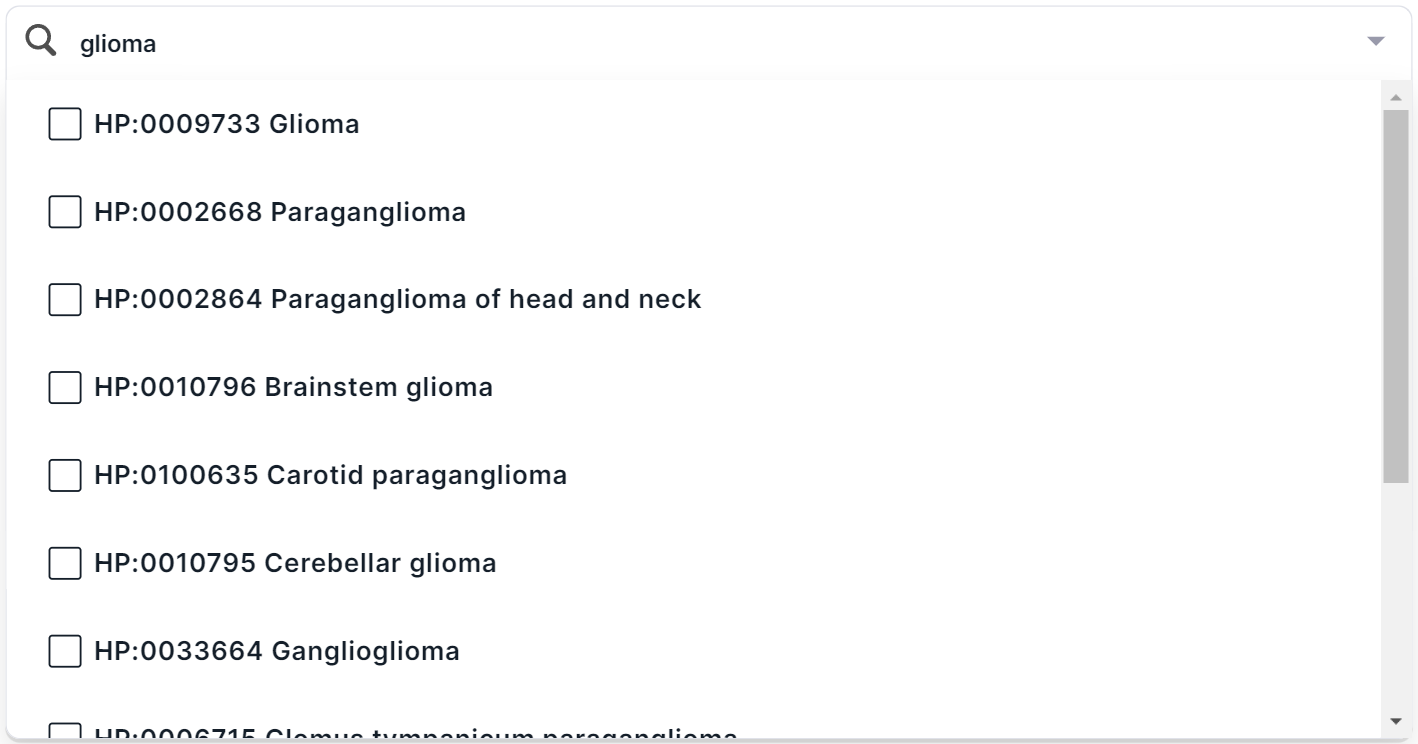
In addition, you can find a phenotype by searching for the name or ID from HPO. For example, when searching for the disease “glioma”, several terms are found:
To select a phenotype, click on its row. You can choose both the whole group and a specific phenotype. By selecting one of the phenotypes (e.g. "Glioma"), you will see this disease card:
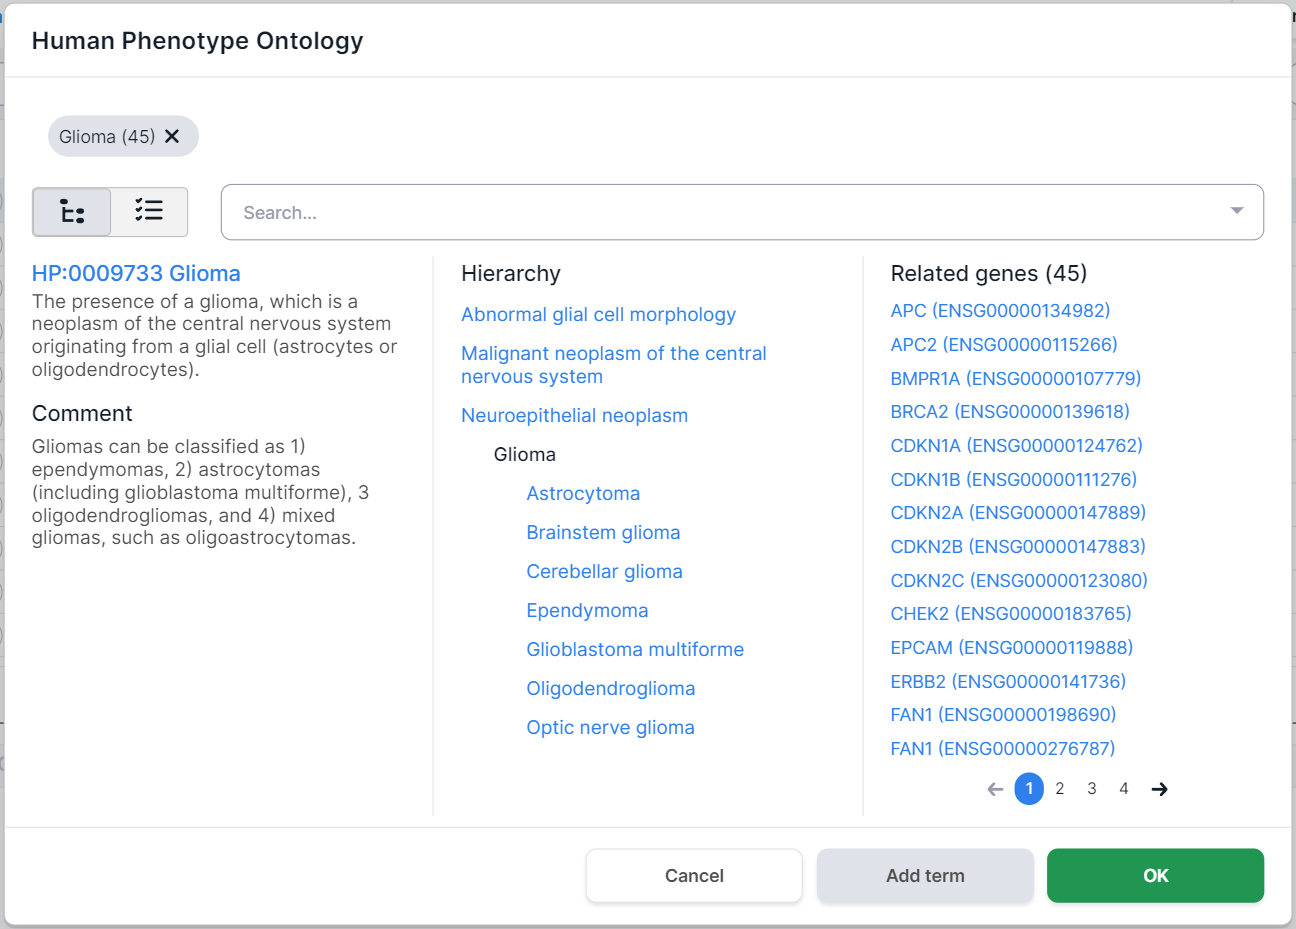
Selected phenotypes are marked above the disease card. Number in parentheses
indicates the number of genes associated with the phenotype. By clicking on a term, you will see
the phenotype card. You can remove the term by clicking on
the
cross ![]() :
:

On the left side of the phenotype card, there are its definition and comments. In the middle, there is the hierarchy of the disease: the terms above the selected Glioma disease are its ancestor phenotypes (i.e. the phenotype groups that include Glioma), and the terms below Glioma are its child phenotypes (i.e. the diseases that are part of the Glioma group). On the right, there are the genes associated with this disease (in this case, 45 genes were found).
Search for a phenotype by hierarchy in the phenotype card. By clicking on the name of the ancestor or child phenotype, you will see this phenotype page. If the phenotype has not yet been selected and genes associated with it have been found, then you can select it by clicking on
 .
.Search for a phenotype in multiselect mode. Switch the search mode by clicking on
 . You will see a list of main
groups of phenotypes with checkboxes. You can find a phenotype by searching for the name or ID from HPO.
For example, when searching for the disease “glioma”, several terms are found:
. You will see a list of main
groups of phenotypes with checkboxes. You can find a phenotype by searching for the name or ID from HPO.
For example, when searching for the disease “glioma”, several terms are found:
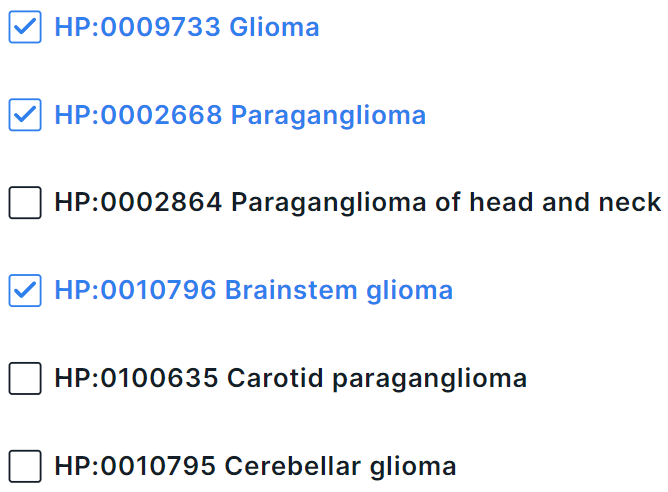
In multiselect mode, you can select several phenotypes at once in the drop-down list. To select a phenotype, click on its line:
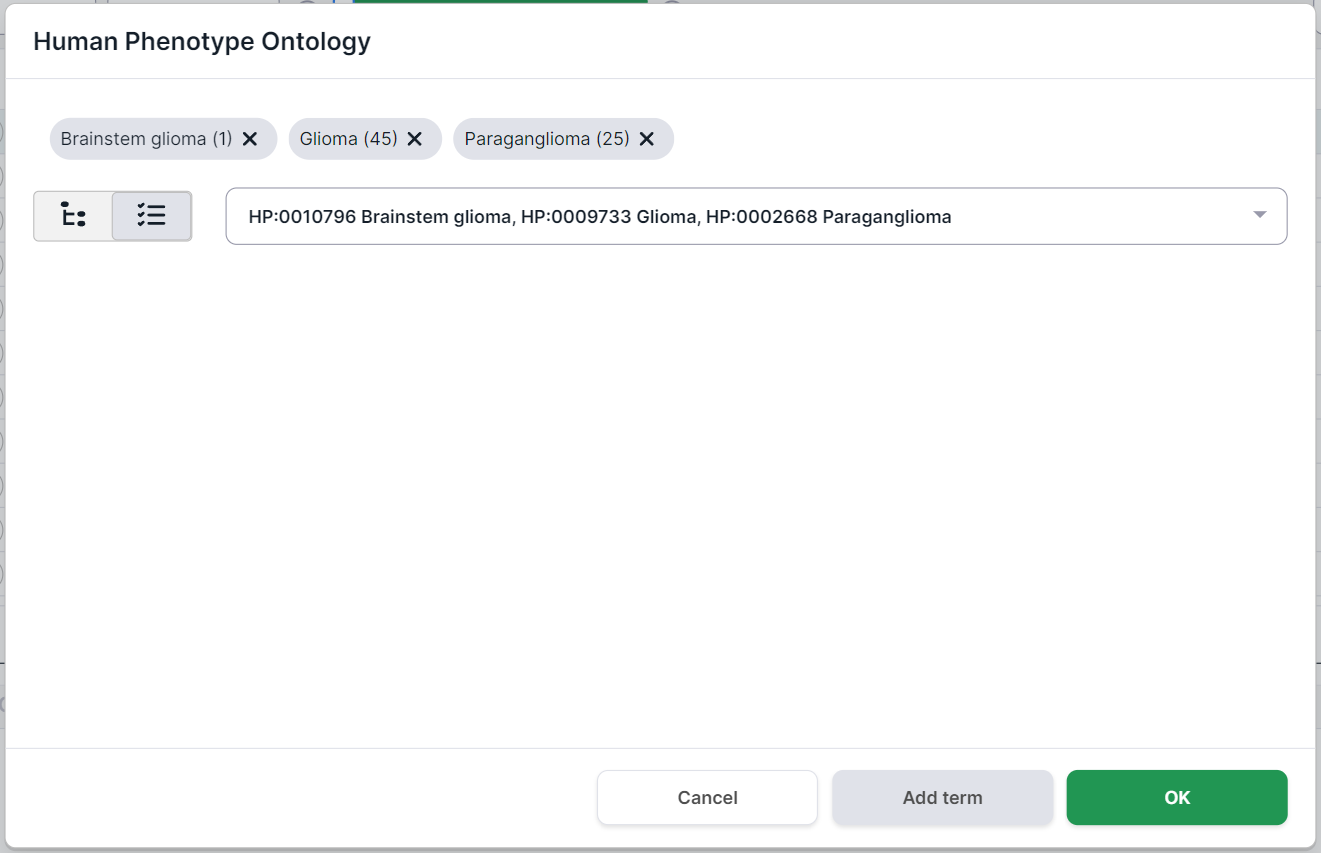
To complete adding phenotypes, click outside the drop-down box within the phenotype search form.
At the top of the form, you will see selected phenotypes. Number in parentheses
indicates the number of genes associated with the phenotype. By clicking on a term, you will see
the phenotype card. You can remove the term by clicking on
the cross ![]() .
.
To exit the form without adding the genes associated with the selected phenotypes to the panel,
click on  or outside the phenotype search form. To add the genes associated with the selected phenotypes to the panel, click on
  . The added genes will be displayed in the list on the right. You can search among them, as well as remove genes from the panel (to do so, click on the gene row, and then click on
 ![]() ):
):
- After you have added all the needed genes to the panel,
click on .
A gene panel will be added to the system.
3. Import gene list#
- Click on
 to open the form of
importing gene list:
to open the form of
importing gene list:
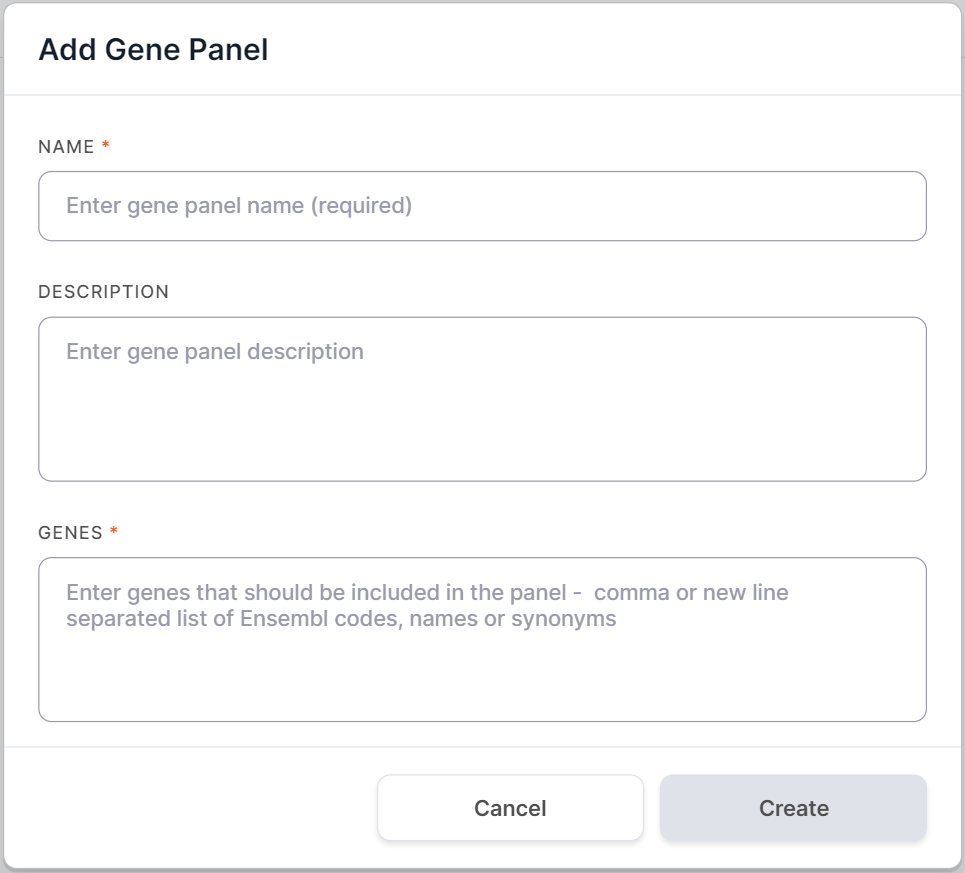
In the opened form, enter gene panel name in the Name field. You can also add a panel description.
Enter gene list in the Genes area. The list must include only official gene symbols and/or Ensembl gene IDs (ENSG...) separated by commas or new lines. It is preferable to use Ensembl ID or unique gene synonym that correspond to only one Ensembl ID, since when using gene symbols, ambiguity may arise due to the existence of human alternative sequence genes (in the given example, the MUC6 gene has three such genes: ENSG00000277281, ENSG00000277518, ENSG00000283350):

- Click on to add gene panel to the system.
4. Import gene panel from library#
- Click on
 to open the form of
importing gene panel:
to open the form of
importing gene panel:
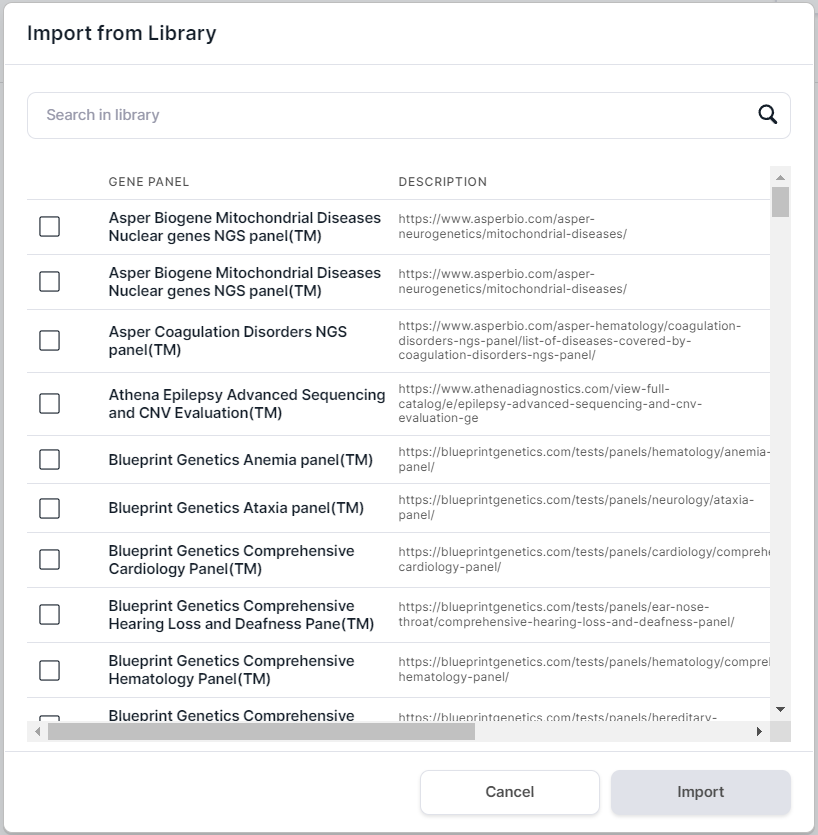
- In the opened form, tick the required panels:

- Click on
 .
.
Edit a gene panel#
To add or remove genes from the added panel, click on the panel row on the "Gene panels" page.
In the opened form, you can change the name and description of the panel,
remove and add genes to the panel (you can add genes either from the list of all genes or from HPO).
After making changes click on  .
.
Delete a gene panel#
To remove a gene panel from the system, hover over its row on the "Gene panels" page and click on the
appeared ![]() button.
button.