Runs
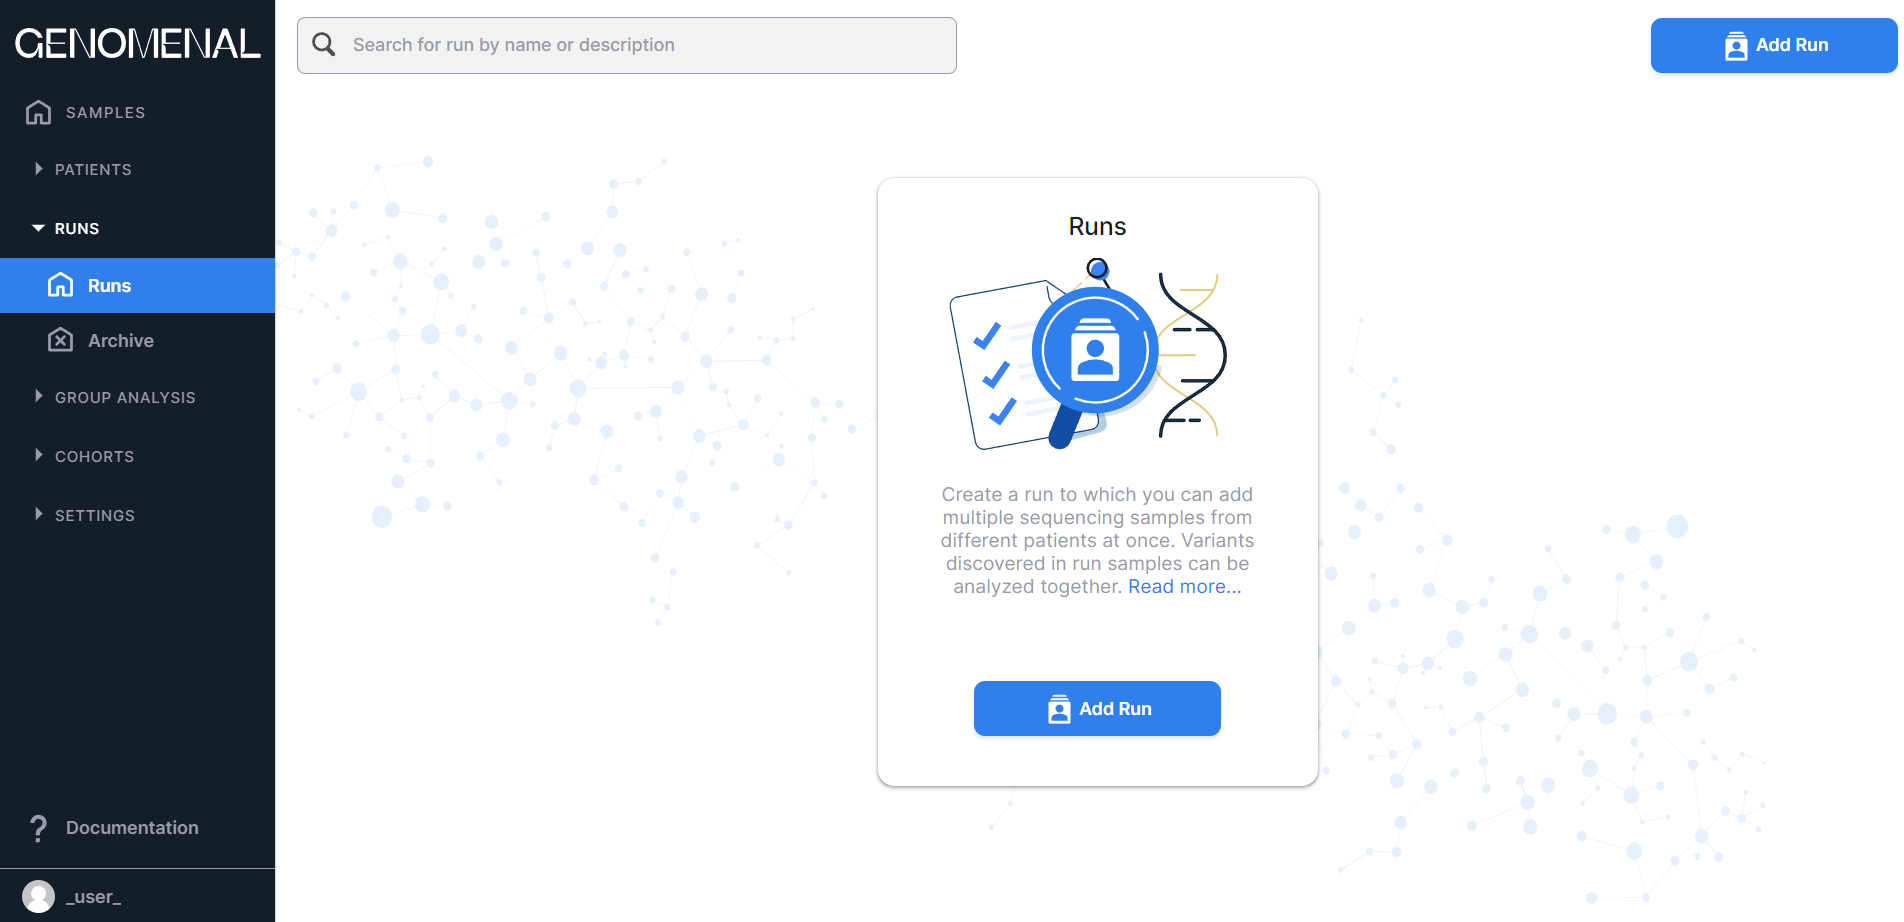
On "Runs" page, you can upload multiple samples without defining a patient for each sample. Run SNV Viewer contains all the variants found in all run samples.
To open the page with runs, open "Runs" page from the page block of the same name via the navigation panel on the left:
Create Run#
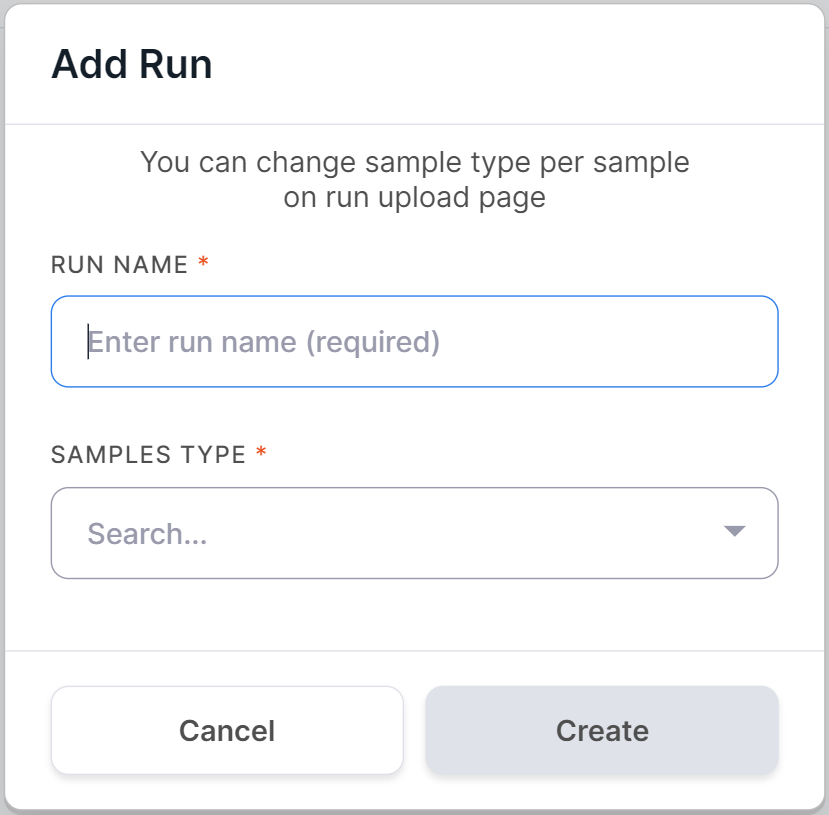
To add run, click on  on the "Runs" or
"Samples" page and enter the run name:
on the "Runs" or
"Samples" page and enter the run name:
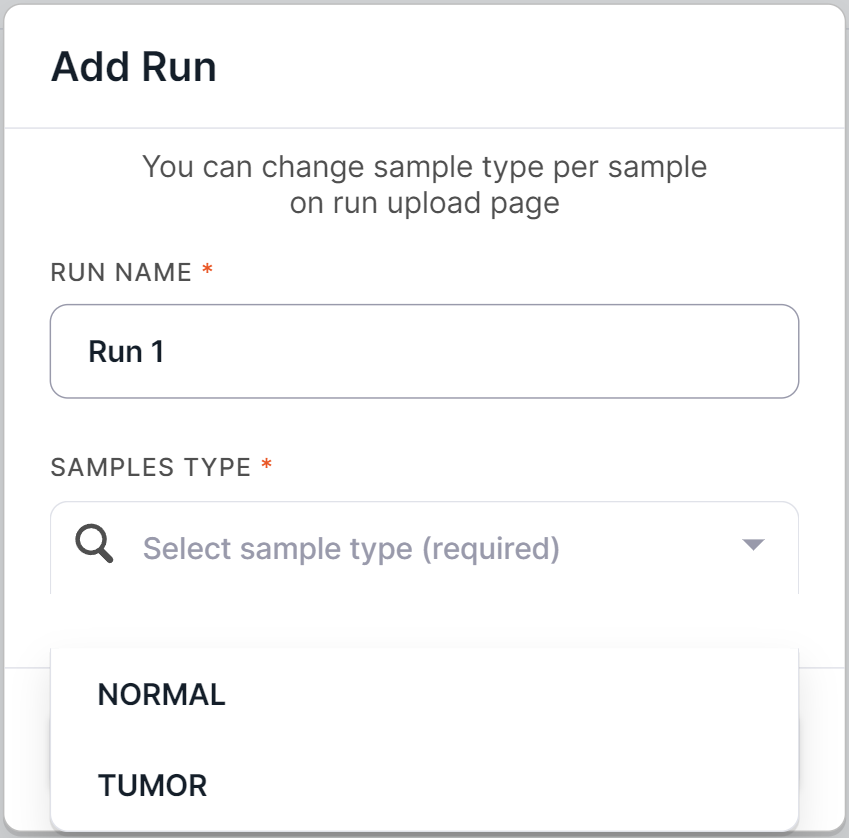
Then select the type of run samples: NORMAL if the run will consist mainly of non-tumor tissue samples, or TUMOR if the run will consist mainly of tumor tissue samples:
info
The type of any run sample can be changed on the run upload page or after submitting the samples.
To create run, click on  .
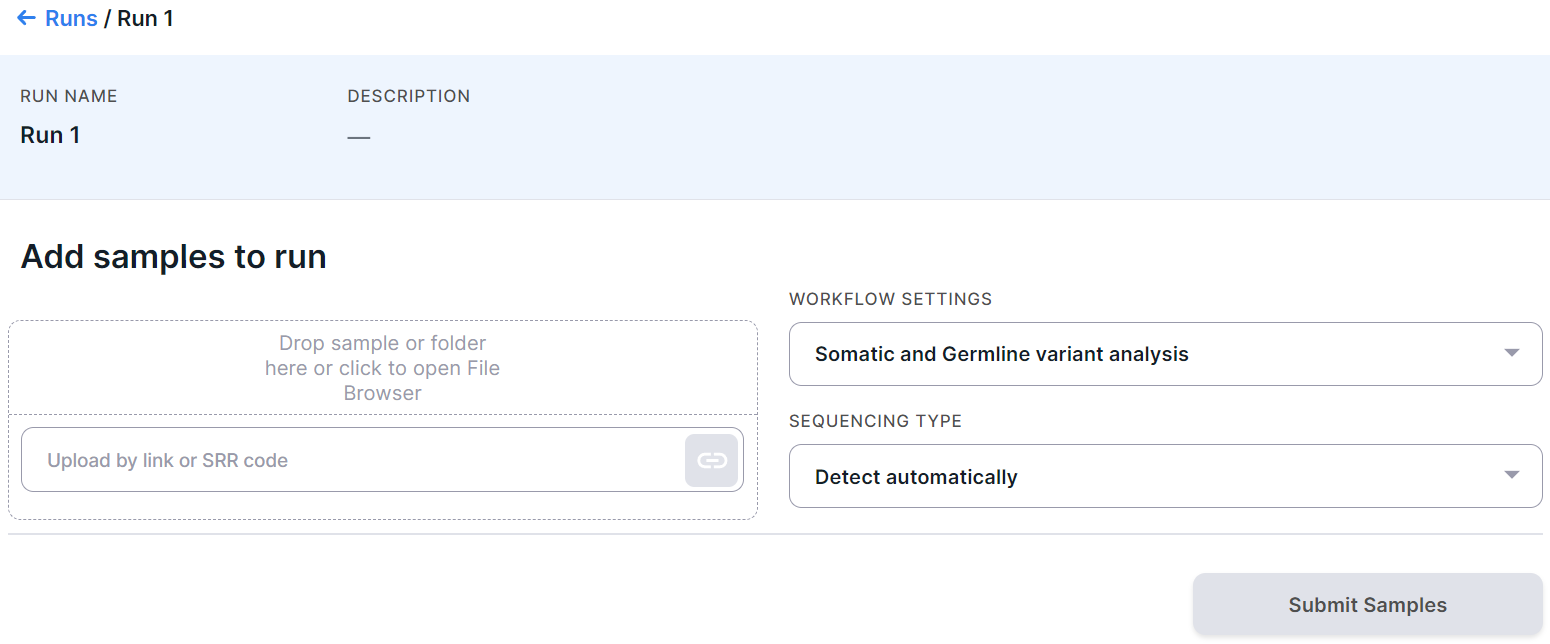
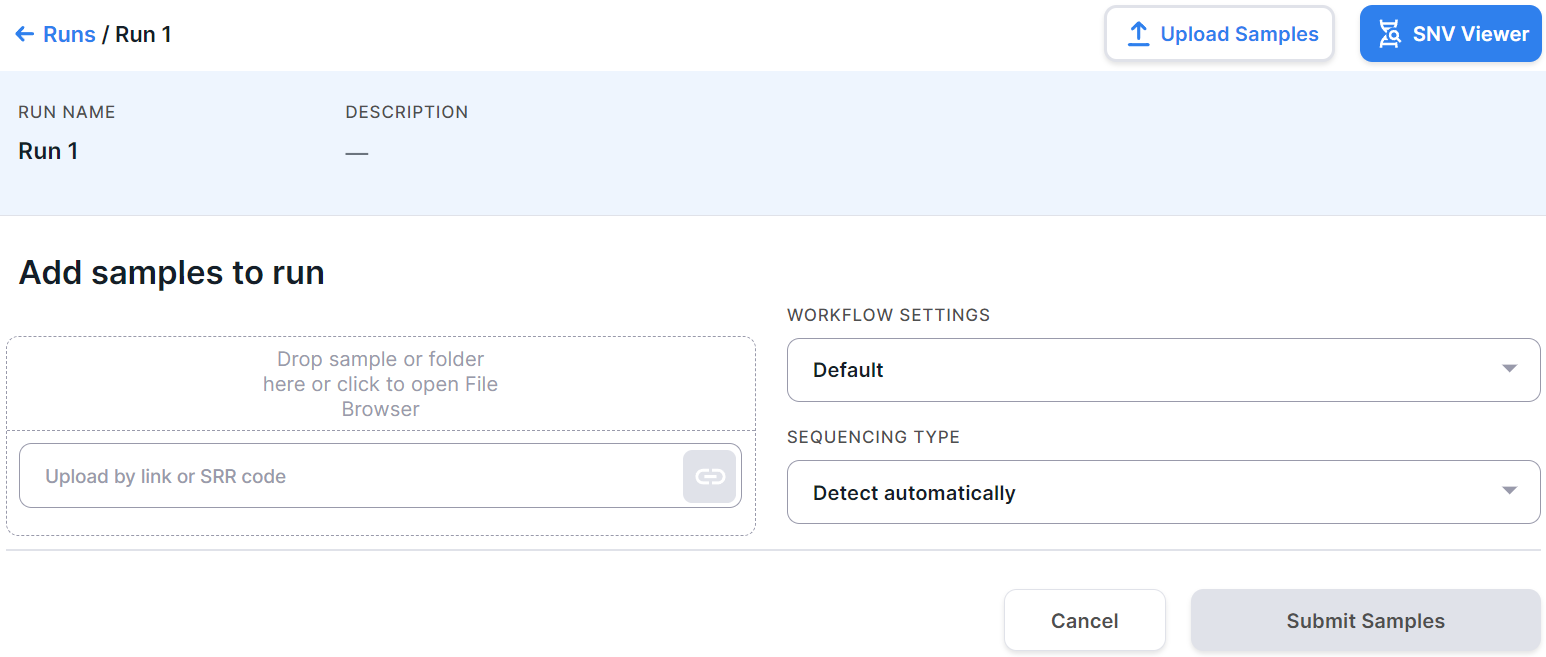
You will see the run upload page:
.
You will see the run upload page:
Workflow Settings#
Select the sample workflow setting. Note that this setting will be applied to all run samples and must match the selected type of run samples (TUMOR or NORMAL). For example, Germline variant analysis setting cannot be used if tumor sample type has been selected, as it is only suitable for analyzing non-tumor tissue samples.
Sequencing Type#
The sequencing type is usually detected automatically by Genomenal. However, if you are sure which sequencing type was used to obtain your data, select the appropriate type to speed up the analysis. This can be whole genome sequencing (WGS) or targeted selection (sequencing with a targeted panel or whole-exome sequencing (WES)).After selecting "Targeted selection" as the sequencing type, you will see an additional field "Capture kit features". The capture kit used during sequencing can be detected automatically by Genomenal. But if you are sure which targeted panel was used when obtaining your data, you can select it from the list of built-in or already uploaded panels in the system, as well as upload the appropriate capture kit by opening the drop-down list in the "Capture kit features" field and selecting the
option
 . Then you will see a field with the choice of a reference genome for the capture kit. By default, the reference genome assembly corresponding to the genomic intervals of the uploaded capture kit is detected automatically by Genomenal. You can determine the assembly by clicking on the appropriate field and selecting the assembly in the drop-down list: hg19 or hg38. Then click on the button
  and select the panel file in the opened File Browser.
Please note that by selecting the sequencing type and capture kit, you define them for all samples of run at once.
Add Samples to Run#
Upload samples using one of the methods below. The number of samples in run is not limited.
info
It is not necessary to upload all the required samples at this stage. Additionally, samples can be added to the run after the start of the analysis, as described here.
The sample files can be uploaded:
- From computer
- From FTP, HTTP or Yandex.Disk servers
- From Google Drive
- From NCBI SRA database
To upload, drag and drop files or folder containing files into the drop-area or click on it to open the File Browser:
To upload, paste the link to the file or folder containing files on the server into the placeholder:
and click on the button ![]() or press Enter on the keyboard.
or press Enter on the keyboard.
To upload a file from Google Drive, first share the file with anyone with the link (how to do this is described here).
Paste the resulting link into the window:
and click on the button ![]() or press Enter on the keyboard.
or press Enter on the keyboard.
To upload, paste the run code from NCBI SRA (e.g. SRR24755541) into the placeholder:
and click on the button ![]() or press Enter on the keyboard.
or press Enter on the keyboard.
Recognizing Paired Files#
- If your sequencing is paired-end and a pair of FASTQ files of the same sample is named in an Illumina convention (or even by some other common read naming scheme), the files will be automatically recognized as a pair when added:

- If the pair is not recognized correctly, you can manually unlink files by hovering over the pair and
clicking on
 :
:
- If the automatic pair recognition did nоt succeed, you can manually pair the files. To do this, either drag the mate paired-end file to the primary one:

or click on the paperclip in the primary file card and then click on the mate file:

Merging Sequencing Lanes#
If your sequencing sample consists of multiple FASTQ files corresponding to different lanes on a flow cell, and
those files share the same name except for the lane _L[lane number] (e.g., "_L01"), the lane files will be
automatically merged into a single sample. During this process, file pairing is handled as described above: paired
lane files will be merged into a paired sample, and unpaired files will be merged into an unpaired sample.
Example: merging four paired lanes into one sample:
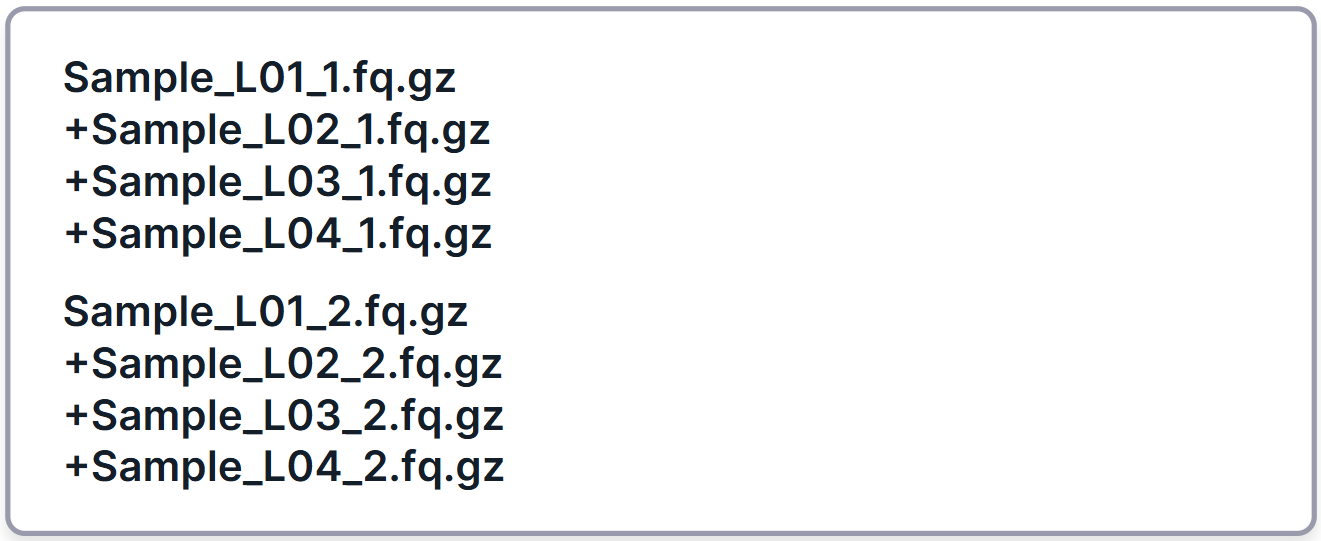
The first file shown in the merged sample card is the one with the lowest lane number, and the rest of the lanes are added to it. This is indicated by a plus sign (“+”) before the names of the additional lanes.
- If the files were merged incorrectly, you can split them by
clicking
 button at the bottom of the page,
to the left of the "Submit Samples" button.
button at the bottom of the page,
to the left of the "Submit Samples" button. - If the required files were not merged automatically, you can manually merge all added files by
clicking
 button at the bottom of the page,
to the left of the "Submit Samples" button.
Note that the button is only available if all added samples have the same pairing type (i.e., all paired or all
unpaired).
button at the bottom of the page,
to the left of the "Submit Samples" button.
Note that the button is only available if all added samples have the same pairing type (i.e., all paired or all
unpaired).
After analysis is initiated, the lanes of the merged sample may initially appear as separate entries. However, once the upload and identify steps are successfully completed for all lanes, they are automatically combined into a single sample.
Change Sample Type#
The type of each sample is indicated to the right of the sample card and matches the type that was selected when the run was created. The selected type is highlighted in blue. If necessary, the type of any sample can be changed by clicking on another type:

The type of any sample can be changed after submitting the samples.
Submit Samples#
Once all samples have been added,
click on  to start analyzing run samples.
If you would like to receive notifications when all run samples' processing is complete, please enable
the corresponding option in your account settings.
to start analyzing run samples.
If you would like to receive notifications when all run samples' processing is complete, please enable
the corresponding option in your account settings.
Run Page#
After submitting the samples, you will see the run page:
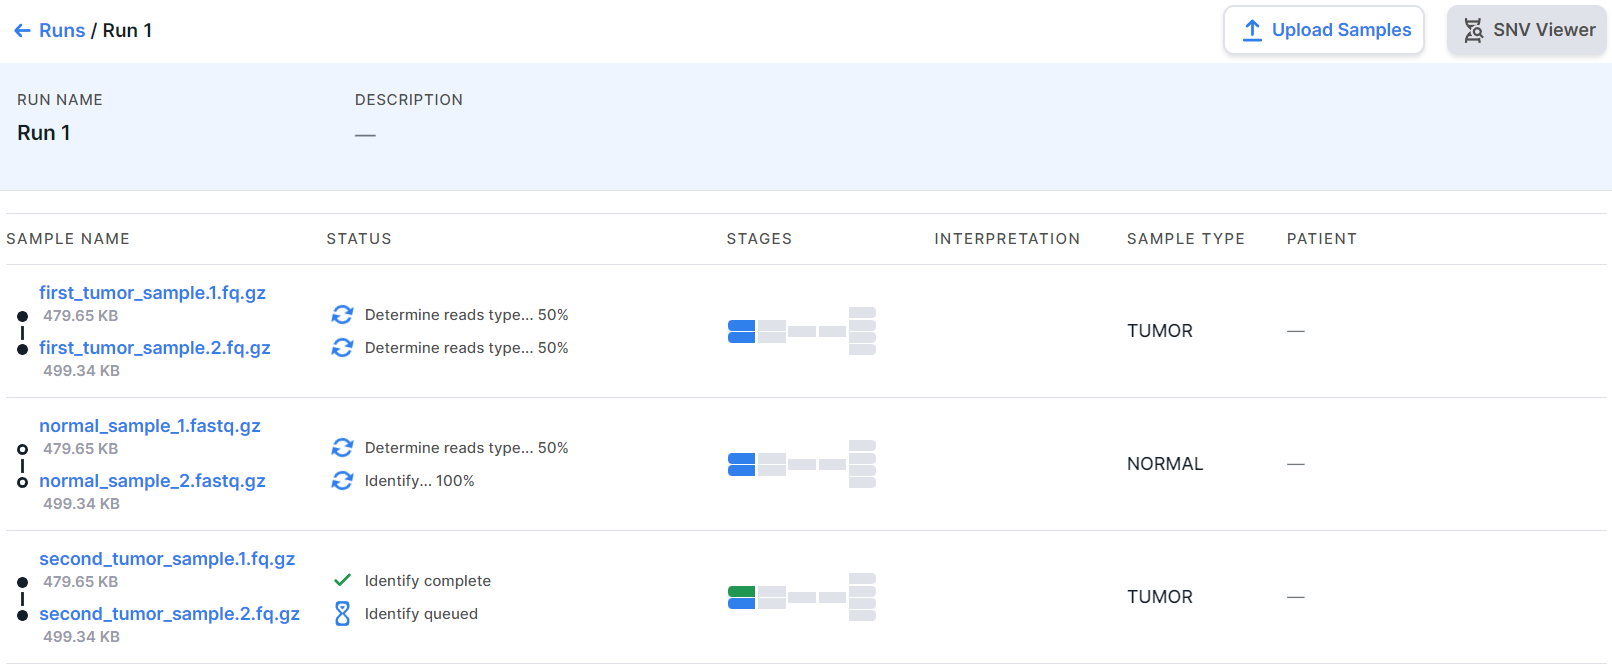
At the top of the page, there are the run name and the run description, which can be changed by clicking on the value field and entering a new text. Below there is a table in which each row is a run sample:
Run Sample#
The run sample row contains the following information:
- Sample name - the names of the sample files with the extension and sample file size.
If the sample file is still being uploaded, this will be reflected in the size information. For example,
it will say "18 B of 240 KB". Tumor sample file is
designated as
 , non-tumor sample file as
  . A pair of tumor sample files:
  , a pair of non-tumor sample files:
  .
. - Status of the last completed analysis stage or the status of the stage currently being
in progress:
 - the stage is currently in progress;
  - the stage was completed successfully,
  - the stage was completed successfully, but not all quality metrics meet the criteria,
  - the stage was failed.
 - Stages - sample analysis progress tiles. Each tile is an analysis stage.
Blue tiles
 represent stages in progress;
green - successfully completed stages; orange
  - successfully completed stages, not all quality metrics of which meet the criteria; red
  - failed stages; gray
  - stages that have not been completed
(either because these stages are turned off, or because the previous analysis stages, the results of which are
necessary to complete the stage, have not yet been completed). The number of tiles may vary depending
on the possible course of the analysis:
- stages that have not been completed
(either because these stages are turned off, or because the previous analysis stages, the results of which are
necessary to complete the stage, have not yet been completed). The number of tiles may vary depending
on the possible course of the analysis:
- The analysis progress tiles of the tumor sample in FASTQ
or BAM format:

- The analysis progress tiles of the non-tumor sample in FASTQ
or BAM format:

- The analysis progress tiles of the sample in VCF, TXT
or TSV format:

- Interpretation is the sample interpretation results, i.e. information on the number of mutations with a particular pathogenicity class discovered in the sample and included to the interpretation results. It may include information about SNVs/Indels, designated "SNV", and information about copy number variations, designated "CNV". The information is presented as follows:
- pathogenicity icons indicating the number of mutations with this pathogenicity:
- pathogenic mutations:
 ;
; - likely pathogenic mutations:
 ;
; - mutations of uncertain significance:
 ;
; - likely benign mutations:
 ;
; - benign mutations:
 .
.
- pathogenic mutations:
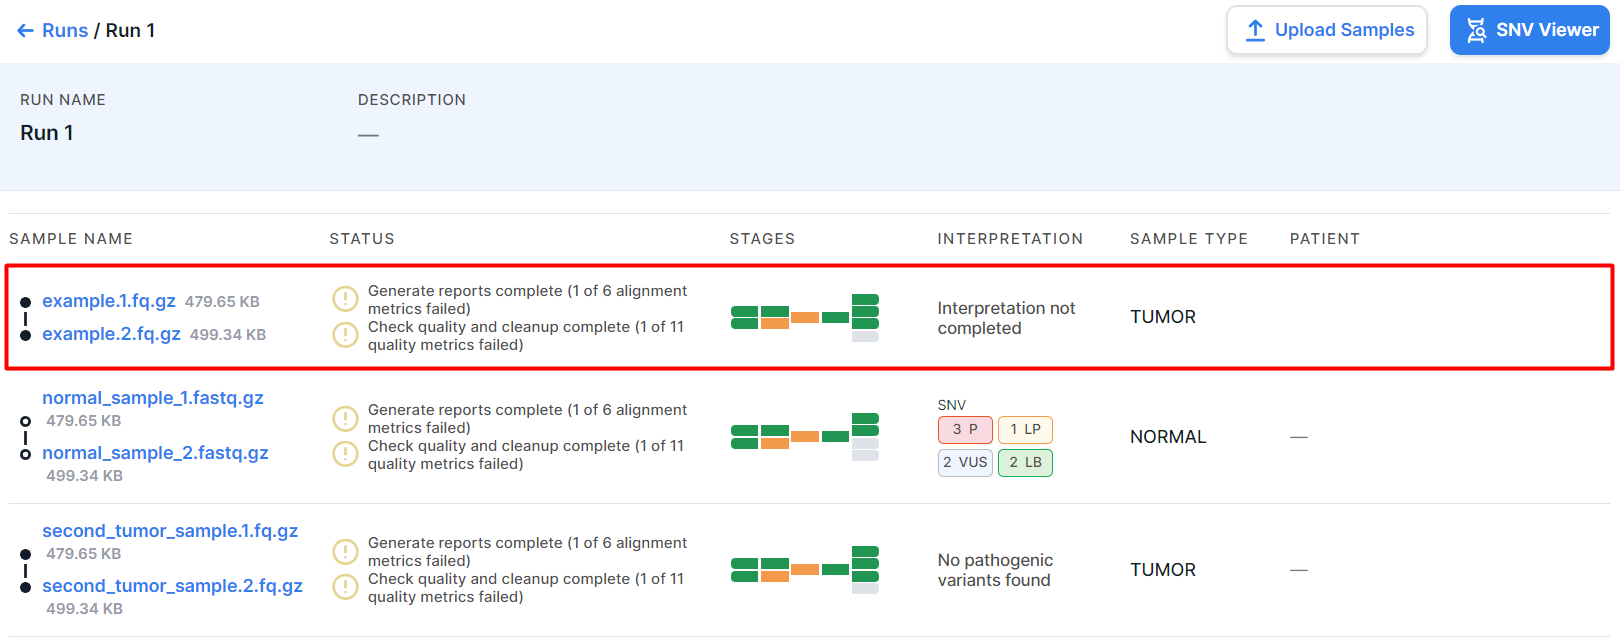
- message "Interpretation not completed" if mutations with a particular pathogenicity class were included to the interpretation results, but the sample interpretation was not completed.
- message "No pathogenic variants found" if the sample interpretation has been completed, but no mutations with a particular pathogenicity class have been included to the interpretation results.
- empty value if sample interpretation was not completed and no mutations with a particular pathogenicity class were included to the interpretation results.
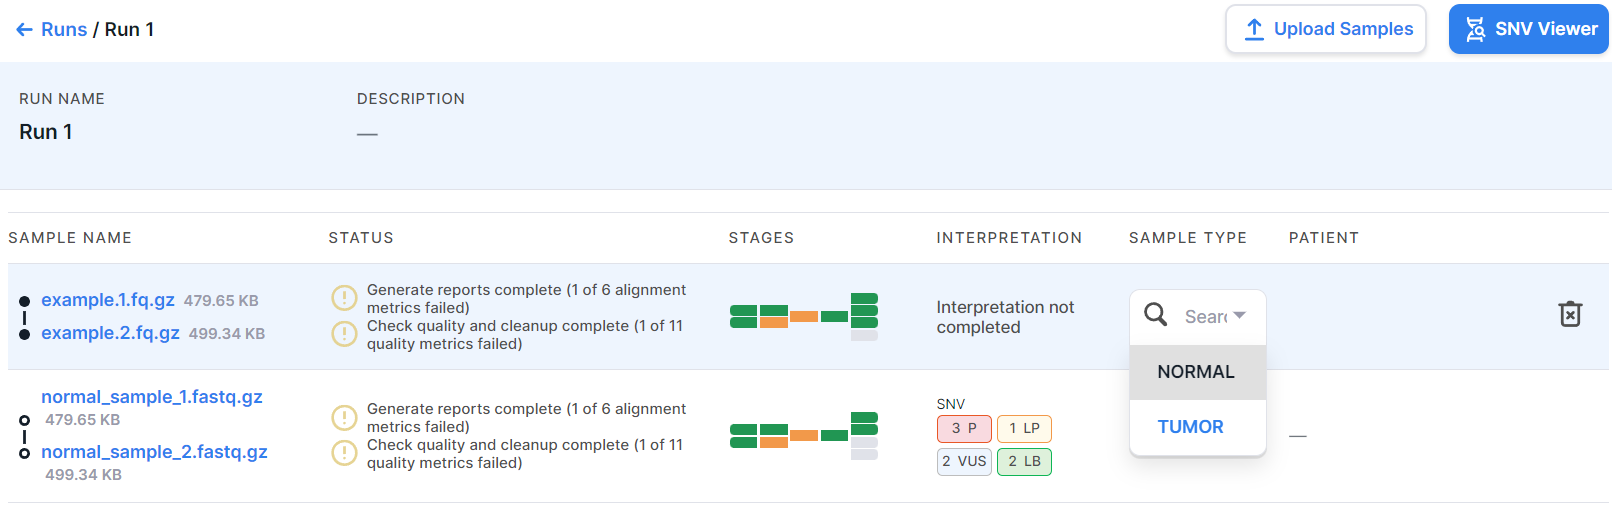
- Sample type is the type that was selected while creating the run or uploading samples: TUMOR or NORMAL (non-tumor). You can change the sample type by clicking on the current value in the sample row and selecting another type:
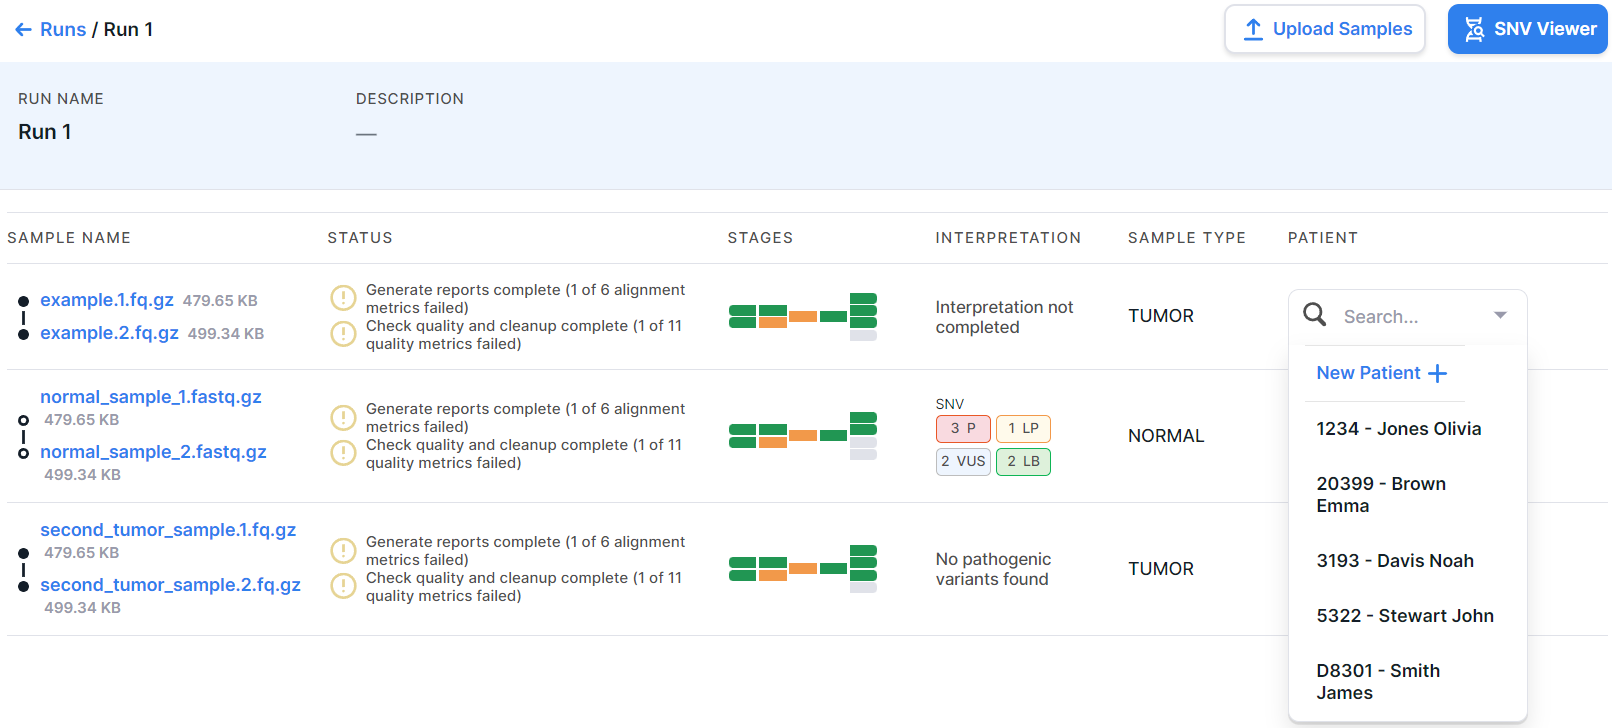
- Patient is the patient from whom the sequencing sample was obtained. To define a patient for a sample, click on the current value ("-") in the sample row and select the patient from drop-down list or add a new one:
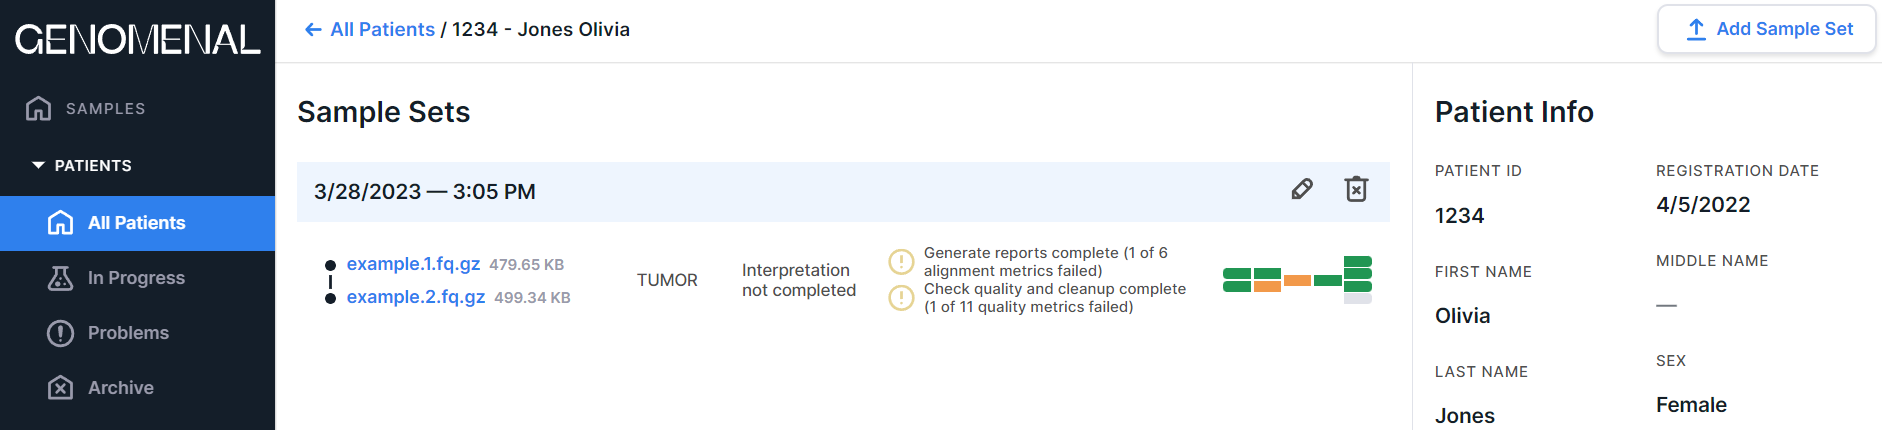
After defining a patient for a sample, the sample data will be presented not only on the run page:

but also on this patient page:
In this case, the sample page is the same - regardless of whether you accessed it from the run page or from the patient page. Any changes, including deleting the sample, will be reflected on both pages.
Sample Analysis Results#
The results for each run sample are on its page. The sample run page is the same as the sample patient page. A description of the results can be found here.
Change the Sample Workflow#
You can change the sample workflow (on "Parameters" tab on the sample page) and restart sample processing. Changes in the workflow only affect the analysis of the specific sample for which they are made.
Delete Sample#
To delete a sample, hover over its row and click on ![]() .
You will see a confirmation window for deleting the sample:
.
You will see a confirmation window for deleting the sample:
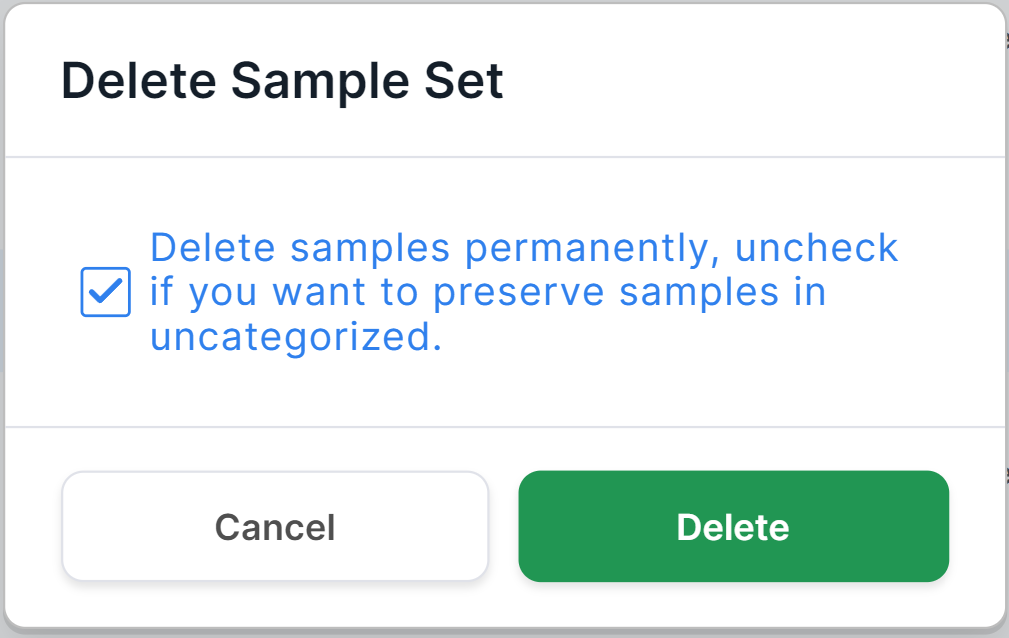
To permanently delete the sample from the system,
click on  . To remove the sample from the run, but leave the samples in the "Uncategorized Samples" section (so that they will be available for reusing in sample set without having to repeat the Upload, Identify and Verify stages), uncheck
 ![]() and then click on . To cancel deleting a sample, click on
and then click on . To cancel deleting a sample, click on  or outside the confirmation window.
Run SNV Viewer#
Run SNV Viewer is an embedded service for viewing and analyzing the variants discovered in all run samples for which the germline or somatic SNVs/Indels annotation stage has been successfully completed. Run SNV Viewer is not much different from Sample SNV Viewer (a detailed description of Sample SNV Viewer can be found here). Run SNV Viewer and Run Sample SNV Viewer are connected with each other: if you pin or interpret a variant, etc. in Run SNV Viewer, the variant state is immediately updated in Run Sample SNV Viewer, and vice versa.
To open Run SNV Viewer, click on  on the run page.
Features of Run SNV Viewer (as opposed to Sample SNV Viewer):
1. "Sample" Column#
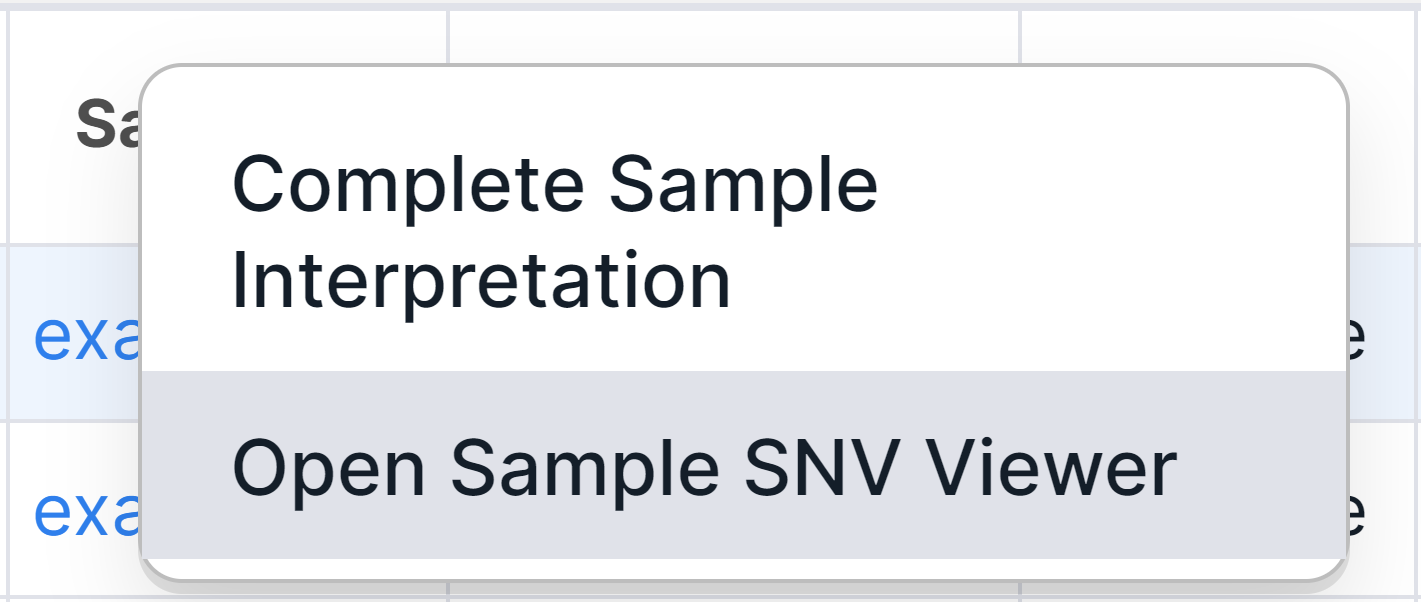
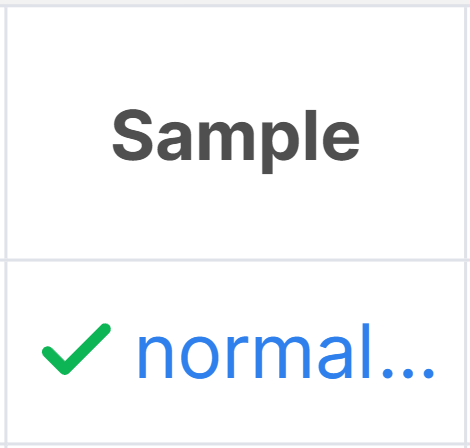
Run SNV Viewer has an additional "Sample" column that contains the name of the run sample in which the variant was discovered. By "Sample" column, you can sort the table in ascending or descending order (to do this, you need to click on the column name once to sort in ascending order, and twice - in descending order). You can open SNV Viewer page of a particular sample by clicking on its name and selecting the corresponding option:
info
The variants in Run SNV Viewer are the result of combining the variants discovered in all run samples but not their intersection. Variants that are identical but discovered in different samples will always differ in the value of "Sample" column.
2. Basic Filtering Column "Samples"#
To filter variants by "Sample" column, there is a basic filtering column "Samples" in Run SNV Viewer
(added by default). To filter variants by the run samples
in which they were discovered, click on the filter
window  and check the boxes for required samples in the drop-down list (or click on
  ):
):

Done! The filter has been applied. The samples that have been selected for filtering the variants can be seen in the same window:

To see all the full sample names, hover over the filter window.
To clear the filter by samples, click on the filter window,
and then on  .
.
info
The basic filtering column "Samples" is also available in advanced filtering mode of Run SNV Viewer:

3. Sample Interpretation#
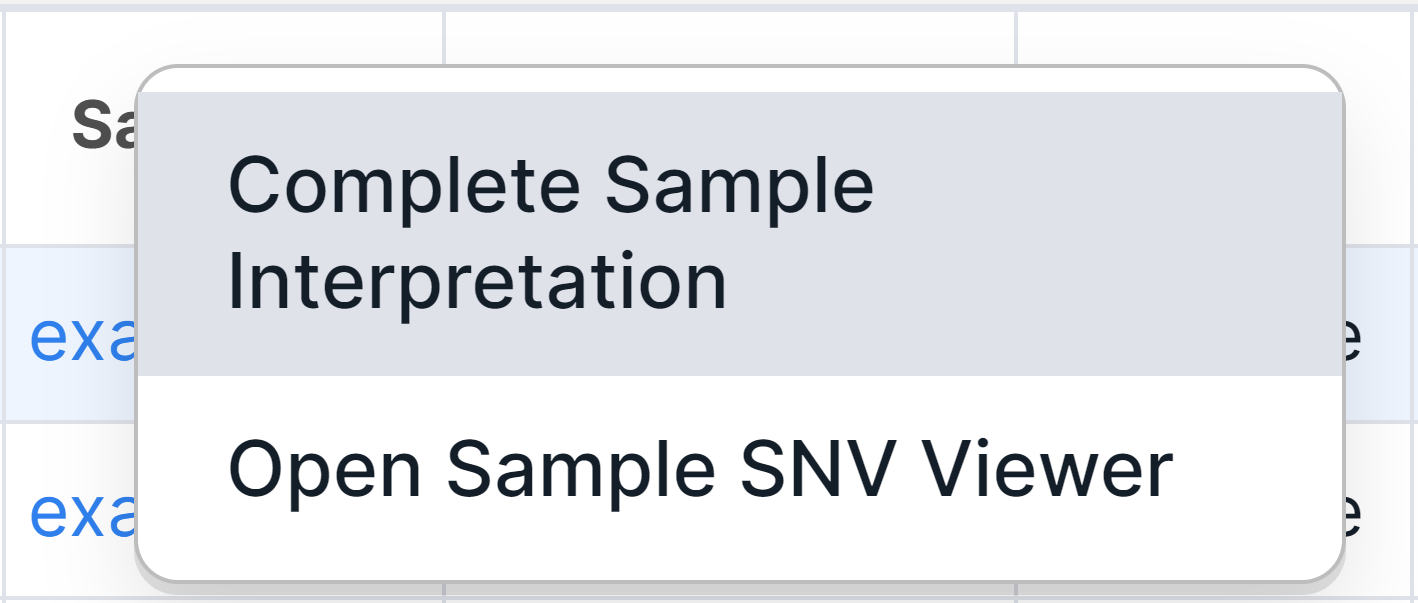
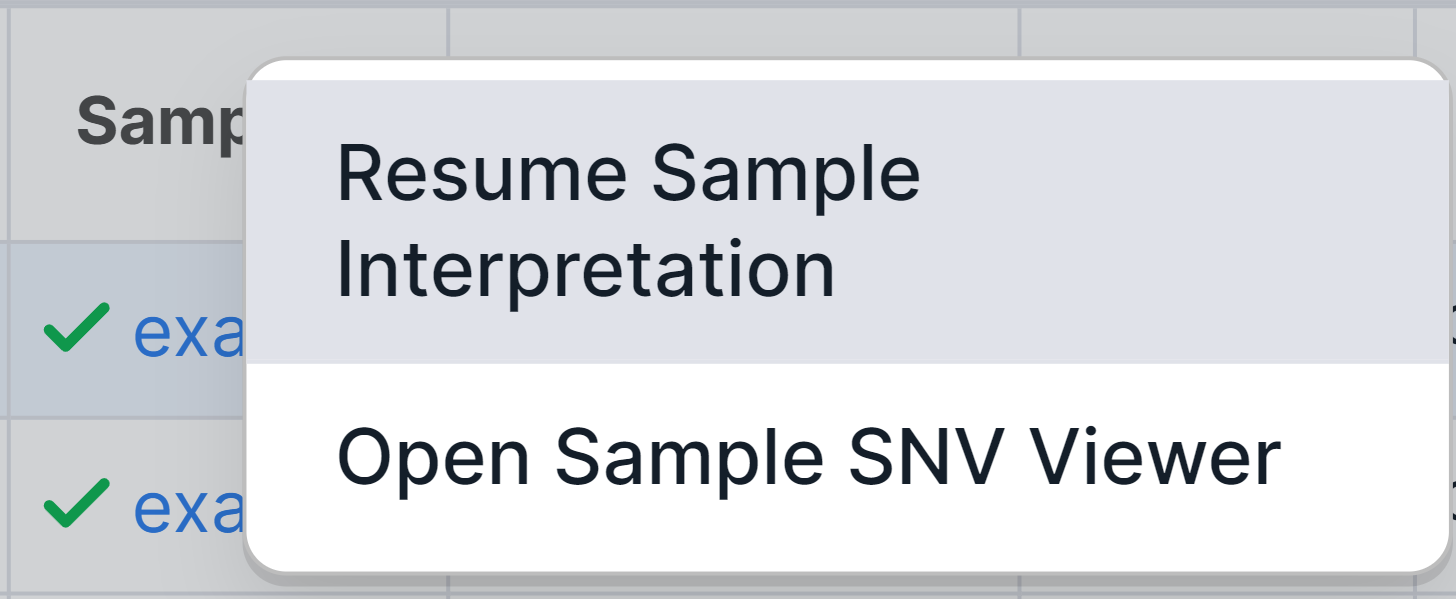
There is an additional way to complete and resume interpretation for run samples in the run SNV Viewer. Other ways are described here. To complete the sample interpretation, click on the sample name in a variant row and select the corresponding option:
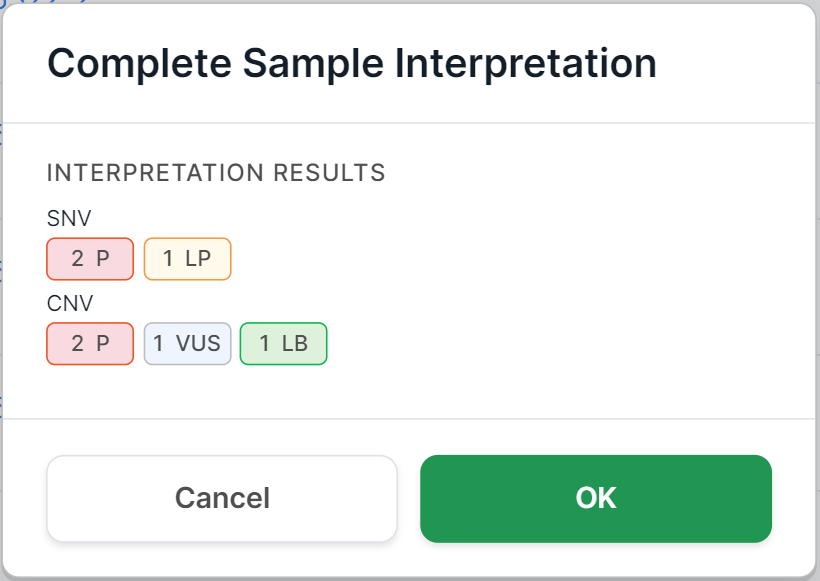
You will see a confirmation window. For non-tumor samples, it looks like this:
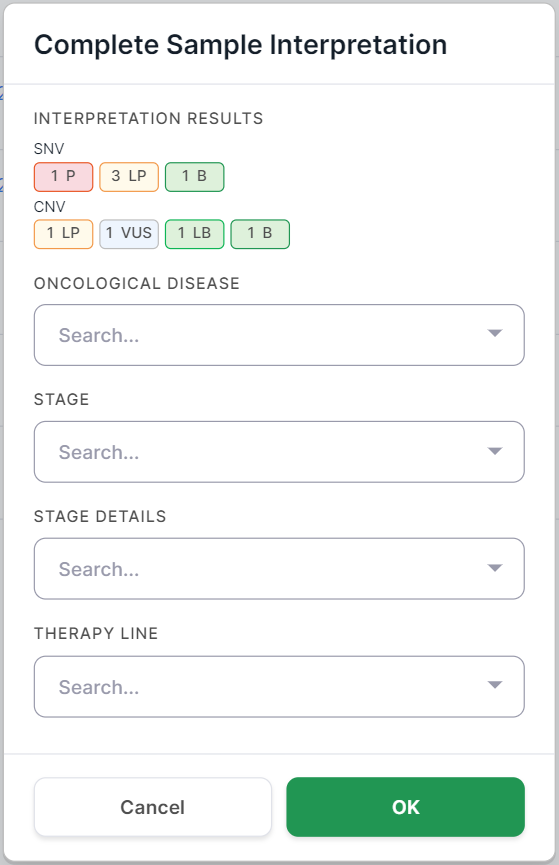
And for tumor samples, it also includes fields about the oncological disease:
The "Interpretation results" field provides information about the number of mutations with a certain pathogenicity class discovered in the sample and included to the interpretation results. The field may include information about SNVs/Indels, designated "SNV", and information about copy number variations, designated "CNV". The information is presented in the form of pathogenicity icons indicating the number of mutations with this pathogenicity:
- pathogenic mutations: ;
- likely pathogenic mutations: ;
- mutations of uncertain significance: ;
- likely benign mutations: ;
- benign mutations: .
If no mutations with a particular pathogenicity class have been included to the interpretation results, then the field value will be "No pathogenic variants found".
For tumor samples, you can also specify in the confirmation window the oncological disease, its stage, and stage details which were defined for the patient, as well as the therapy line used to treat the patient's disease, at the time the sample was taken for sequencing.
To confirm completing interpretation, click on  .
.
Run samples with completed interpretation are marked with ![]() :
:
To resume sample interpretation, click on the sample name in a variant row and select the corresponding option:
4. Basic Filter "Sample status"#
To filter variants by sample interpretation status (completed or uncompleted), there is a basic filter
"Sample status" in Run SNV Viewer. The filter is not available by default; it can be added
on "Profile settings" page ("Sample Interpretation Status" option).
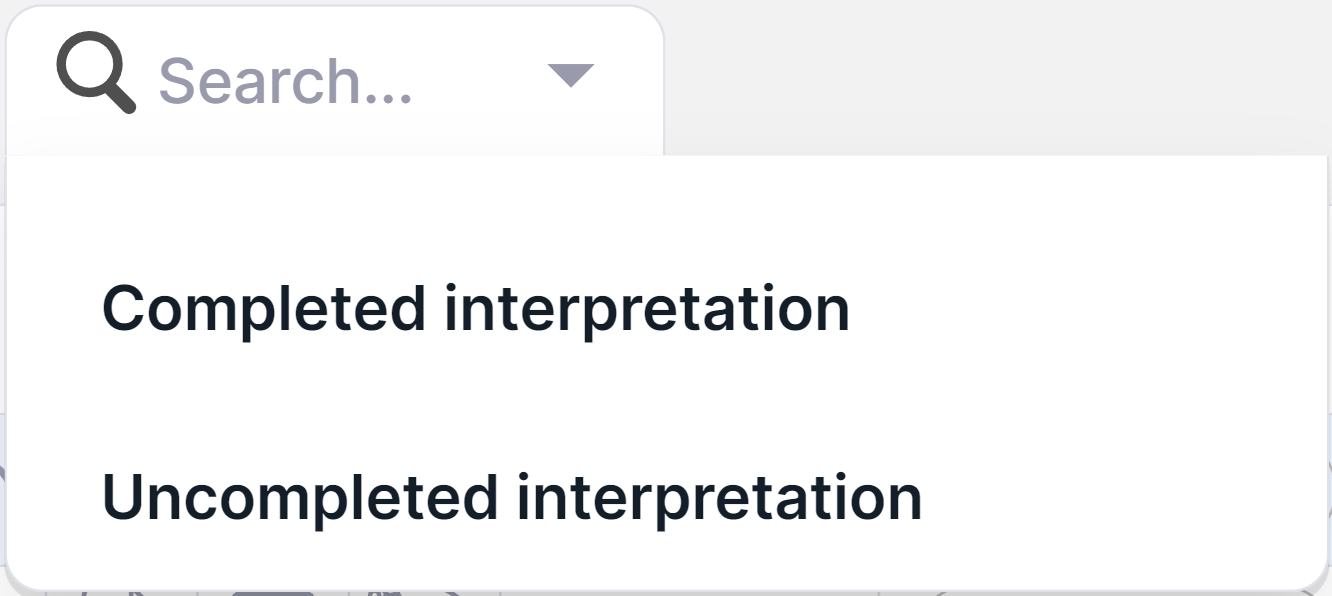
To filter variants by the interpretation status of run samples
in which the variants were discovered, click on the filter
window  and
select the required status from the drop-down list:
and
select the required status from the drop-down list:
To clear the filter, click on the filter window,
and then on .
You can also filter by sample interpretation status in advanced filtering mode using "Sample Status" filter. In this case, it is not necessary to add an additional basic filter "Sample status" in the settings.
5. Occurrence in Run#
On "Common" tab of the variant details panel in run SNV Viewer and run sample SNV Viewer, there is information on the number of run samples in which the variant occurs. For example, in the following case, a variant was discovered in two of the three run samples:

Variants can be filtered by occurrence in run using "Occurrence in Run" filter in advanced filtering mode.
Upload More Samples#
To add samples to the run in addition to the samples uploaded earlier, click the
button  on the run page.
You will see new samples uploading form above the already uploaded samples:
on the run page.
You will see new samples uploading form above the already uploaded samples:
Upload the samples as described above and
click on .
While new samples are being processed, Run SNV Viewer will be unavailable.
Archive, Restore and Delete Run#
To archive run and its samples, hover over the run row on "Runs" page and
click on ![]() . The run will be moved to
"Archive" page from "Runs" page block. On "Archive" page, you can:
. The run will be moved to
"Archive" page from "Runs" page block. On "Archive" page, you can:
- Restore run by hovering over the run row and
clicking on
 . The run will then be moved
back to "Runs" page.
. The run will then be moved
back to "Runs" page. - Delete run and its samples by hovering over the run row and
clicking on
 .
Then you will see a confirmation window for deleting the run:
.
Then you will see a confirmation window for deleting the run:
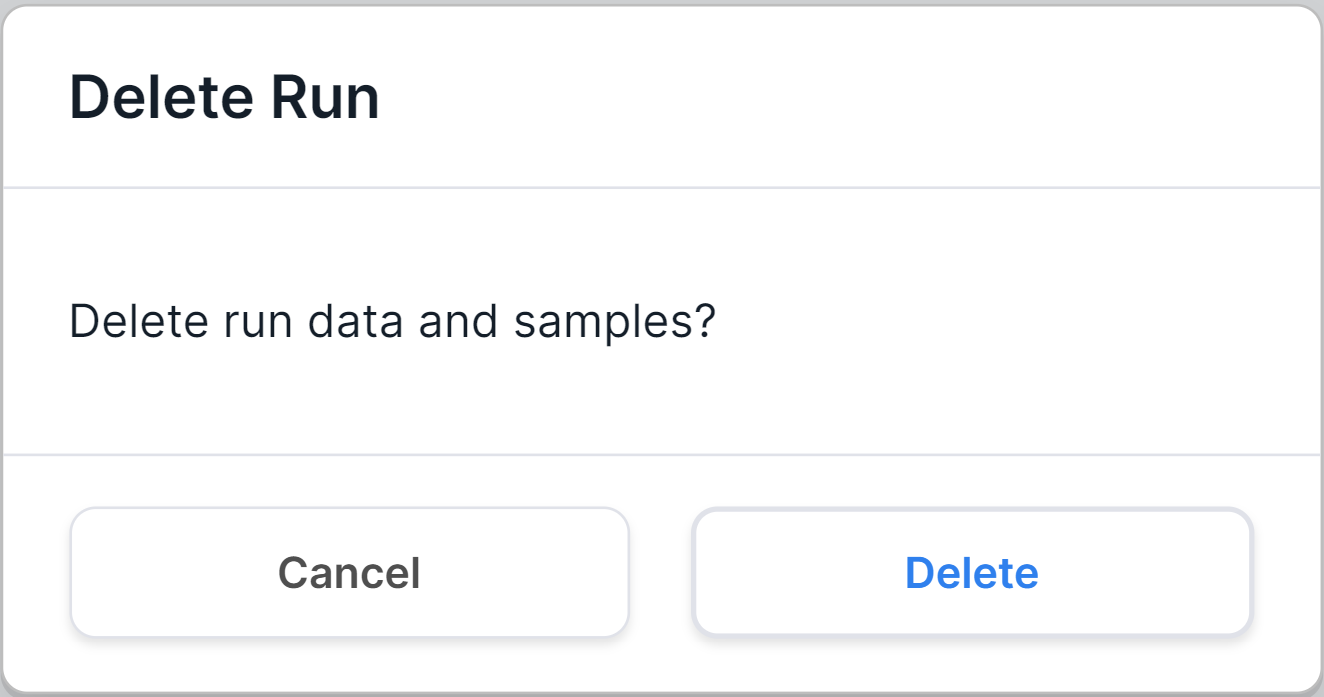
To confirm the run deletion, click on  . To cancel deleting a run, click on
or outside the confirmation window.
. To cancel deleting a run, click on
or outside the confirmation window.
In addition, you can delete all archived runs by
clicking on ![]() .
.