Patients
The "Patients" section includes the following pages:
- "All Patients" - contains all patients added to the system and their data.
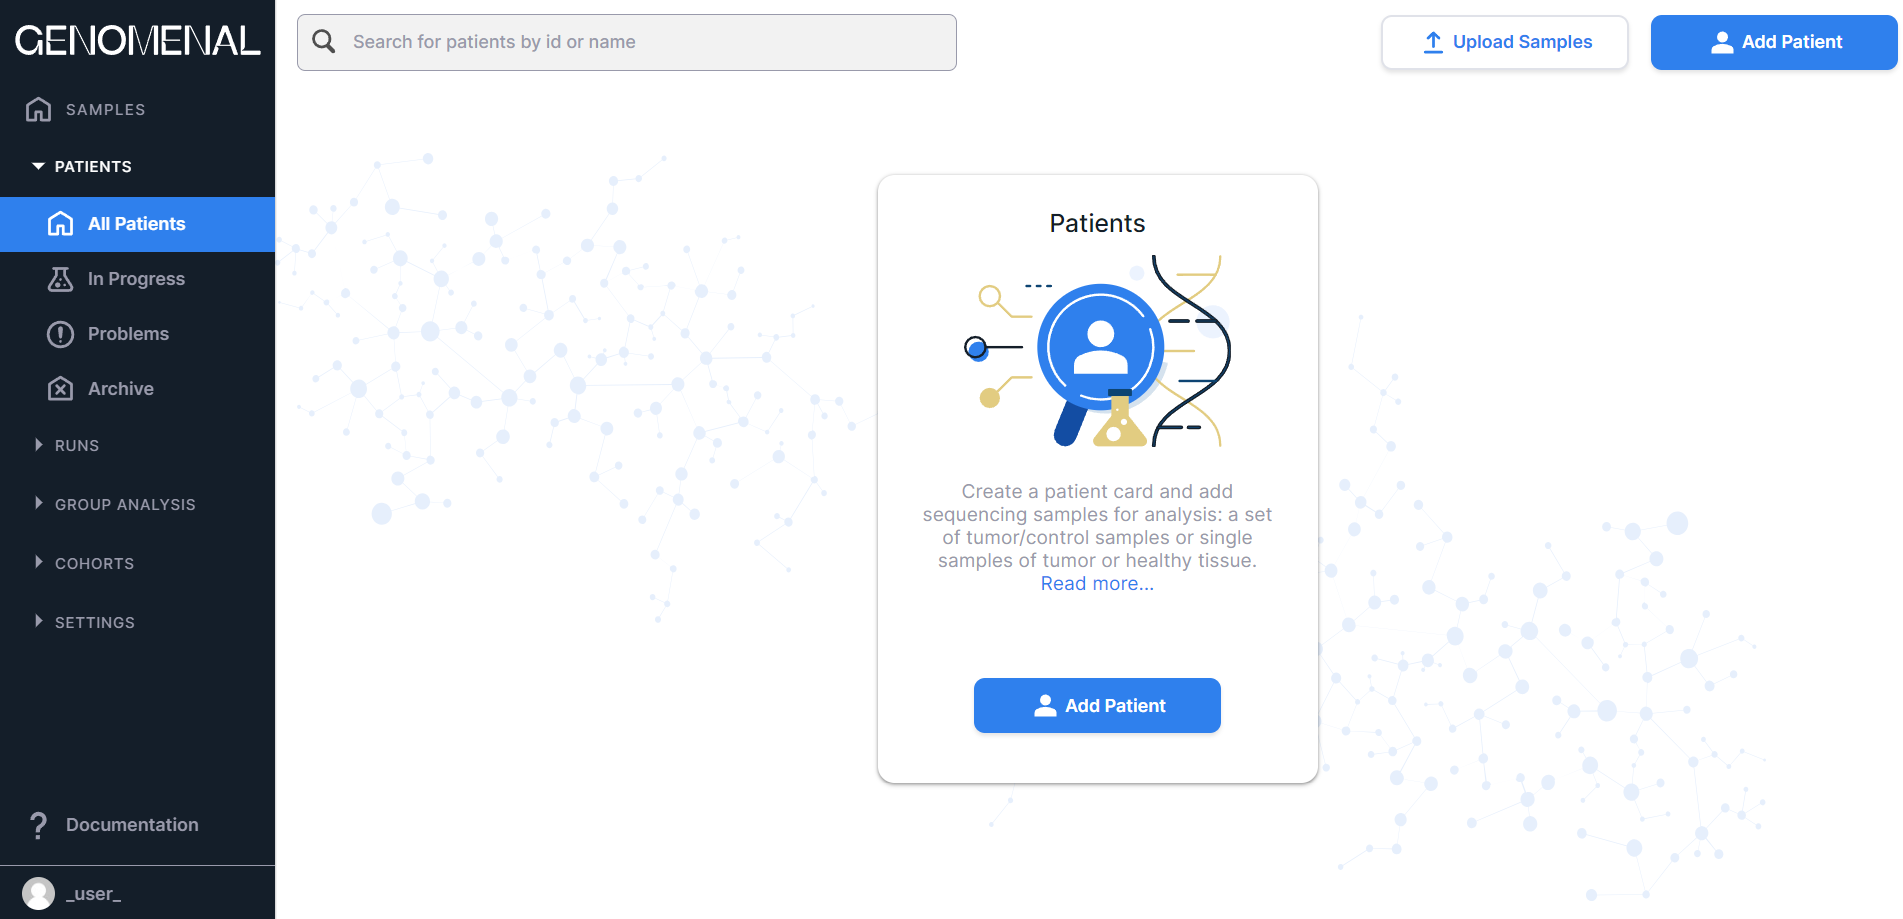
If you don't have any patients added yet, the "All Patients" page looks like this:

The page with added patients looks like this:

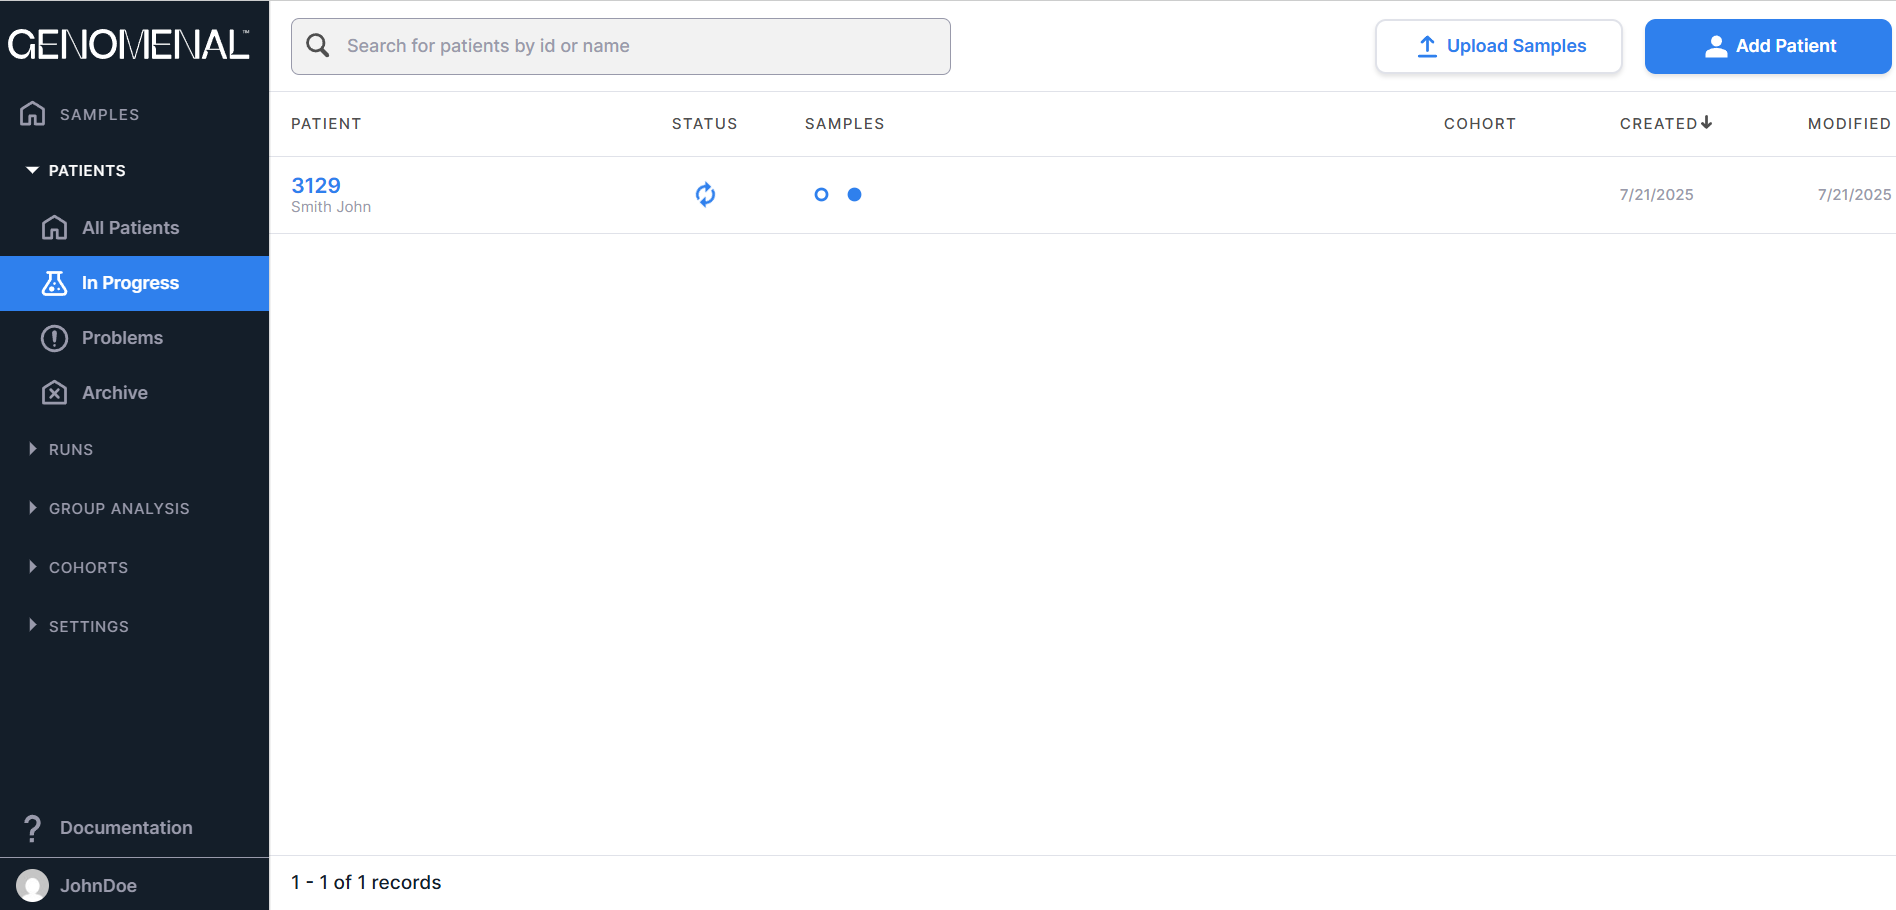
- “In Progress” - contains those patients whose data is being currently processed:

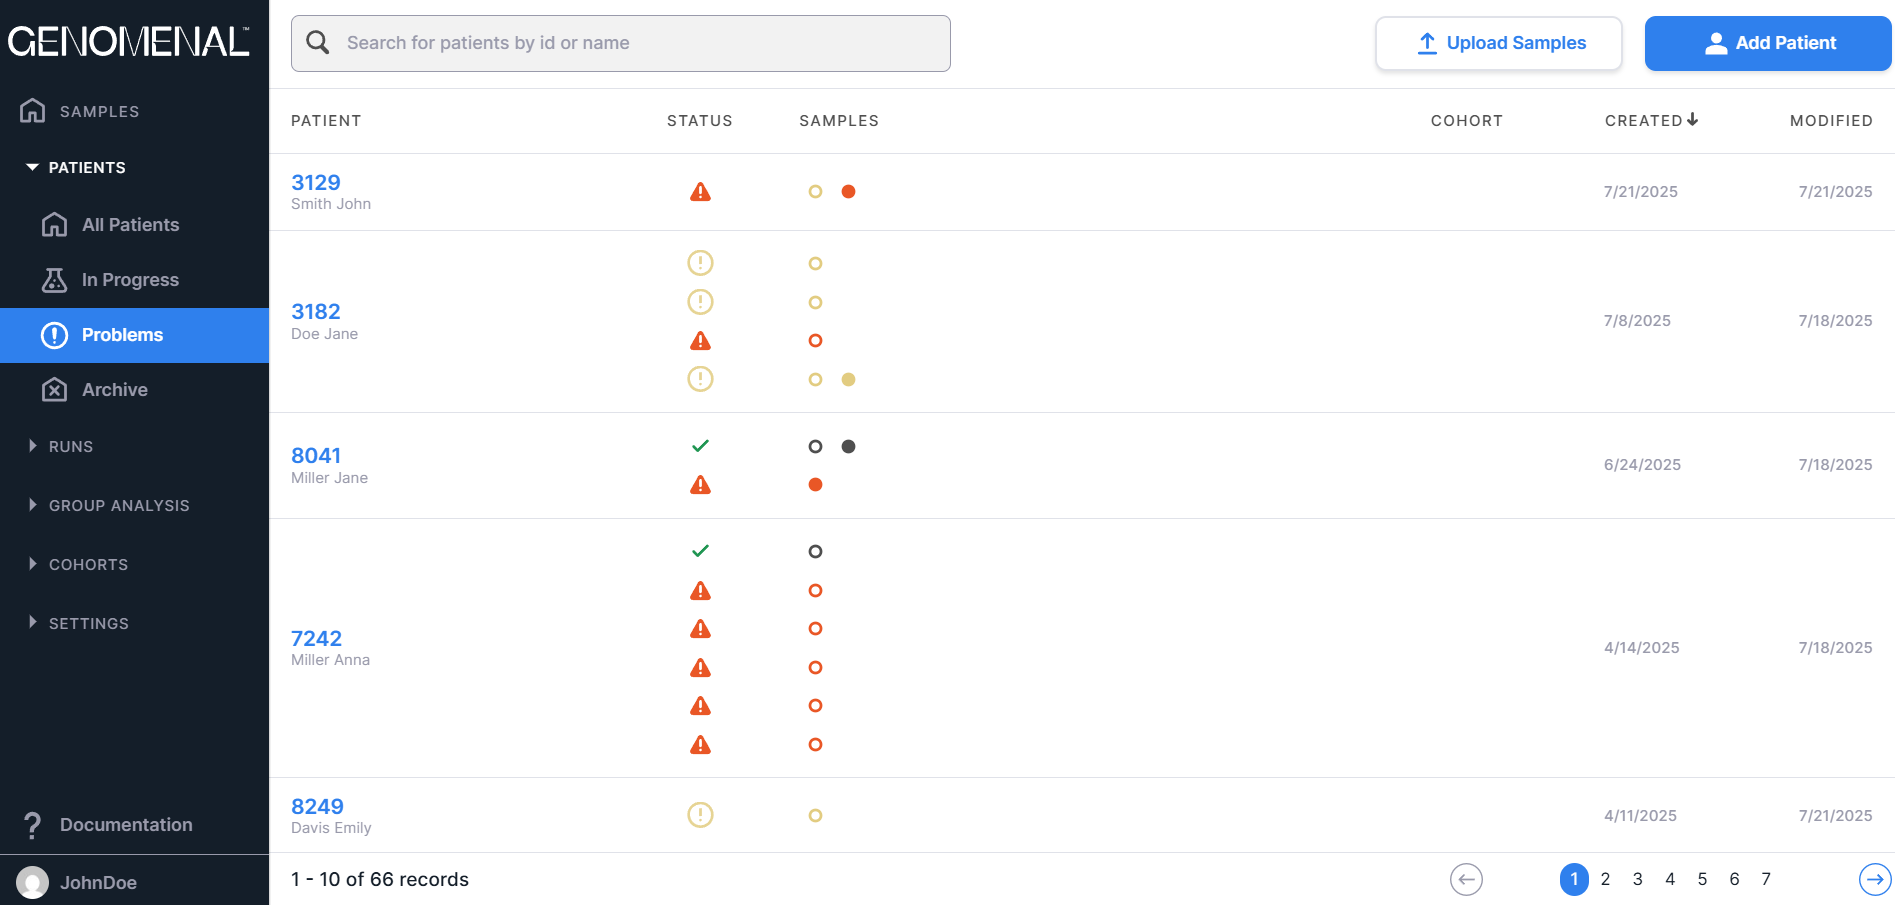
- “Problems” - contains those patients with data processing problems or with peculiar data:

There are following buttons at the top of the "All Patients", "In Progress" and "Problems"
pages: to upload multiple samples, and
to add patient. In addition, if you hover over a patient's row, you will see the following active elements:
to upload patient data and
to archive it.
- “Archive” - contains those patients whose data has been archived. You can transfer irrelevant data or data for later deletion here. Archived patients are not displayed on the "All Patients" page.

You can search for patients by ID or name using a search box at the top of the section pages:
At the bottom of the section pages there are:
- Patient count information: the order of patients displayed on the page (a maximum of 10 patients can be shown on a page, so the order would be 1-10, 11-20, etc.) and the total number of patients.
- Pagination component:
, which allows to navigate between patient pages. The number of the opened page is highlighted in a blue circle. If you click on this number, the page will reload. To move to a page with a specific number, either click on that number, or click on
, enter the required number and press the enter key or click outside the value field. To move to the previous page, click on
, and to open the next page, click on
.
Columns#
The "Patients" section pages present the table with the following columns:
- PATIENT - contains information about created patients (ID, first name, last name);
- STATUS - contains information about the statuses of uploaded samples of each
patient:
- in progress;
- queued;
- success,
- problems,
- failed;
- SAMPLES - contains information about the uploaded samples of each
patient:
- tumor sample in progress, queued or waiting for the prerequisite stages of the control sample to be completed;
- successfully processed tumor sample;
- tumor sample with problems;
- failed tumor sample;
- normal sample in progress or queued;
- successfully processed normal sample;
- normal sample with problems;
- failed normal sample;
- COHORT - contains the cohort name of the patient;
- CREATED - contains the date of the patient creation in M/d/yyyy format;
- MODIFIED - contains the date of the last change in the patient data in M/d/yyyy format.
By clicking on a patient's row, you will open the patient's page.
Sorting#
By default, the table is sorted from patients added last to patients added first (i.e., in descending order
of the "Created" column values). The table can be sorted by ascending or descending values of the following
columns: "Patient", "Cohort", "Created", "Modified".
To sort a table by column values, click on its name (click once to sort ascending, or twice to sort descending).
After this, an arrow will appear next to the column name (when sorting in ascending order) or
(when
sorting in descending order). To reset the sorting, refresh your browser page. The values of the "Patient" and
"Cohort" columns are sorted alphabetically, and the values of "Created" and "Modified" columns are sorted from
earliest to latest date and vice versa.
Archive, Restore and Delete Patient Data#
To archive patient data and samples, hover over the patient's row on the "All Patients" page and
click on . The patient will be moved
to the "Archive" page. On the "Archive" page, you can:
Restore patient data by hovering over the patient's row and clicking on
. Then, patient will be moved back to the "All Patients" page.
Delete patient data and samples from the system by hovering over the patient's row and clicking on
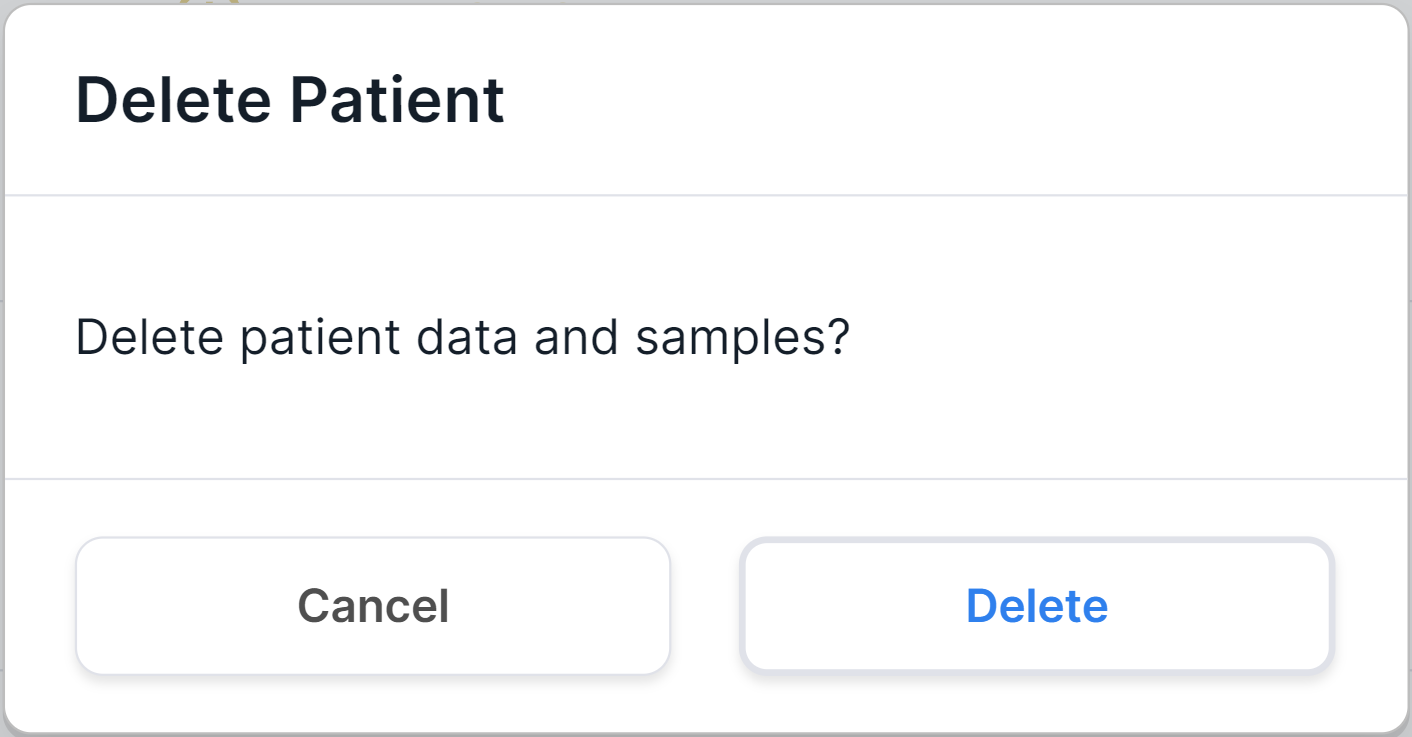
. You will see a confirmation window for deleting the patient:

To confirm deleting the patient, click on . To cancel deleting a patient, click on
or outside the confirmation window.
Additionally, you can delete all archived patient data by
clicking on on the "Archive" page.