Samples
The home page "Samples" contains all samples that are uploaded into patients or runs that are not in the archive. If a sample has both a patient and a run defined, it will appear on the "Samples" page unless at least one of these entities is archived.
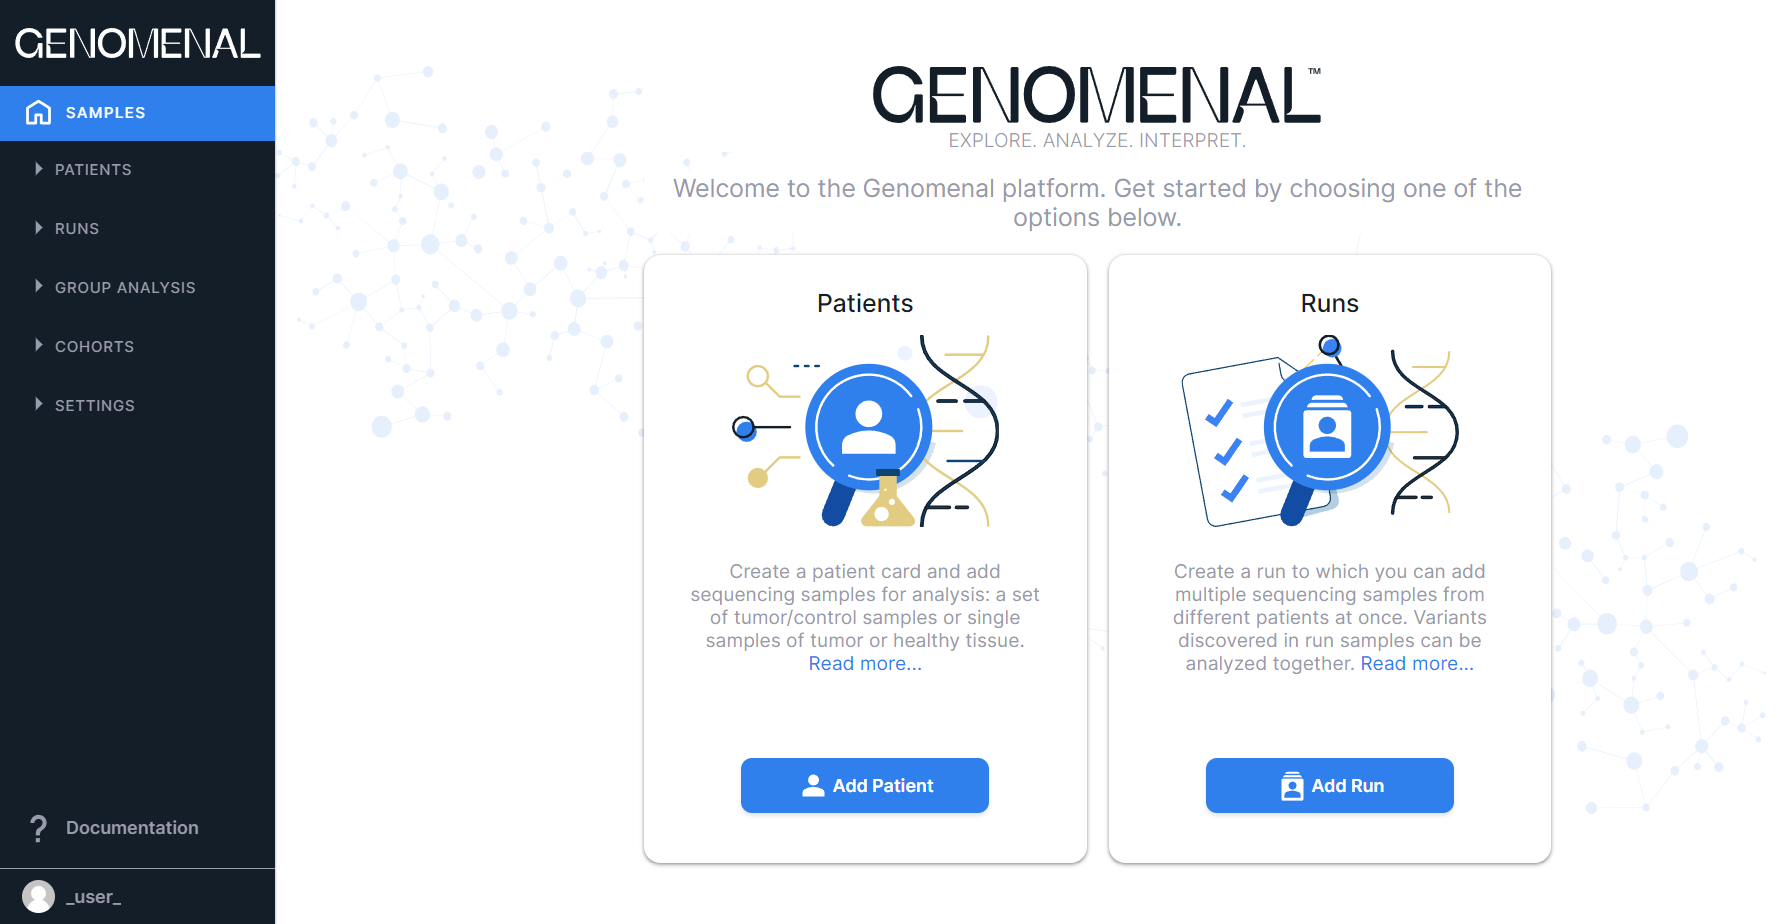
If you haven't used Genomenal before and don't have any samples uploaded, the page will look like this:
Subsequently, you will see here all the samples uploaded in this account and added to patients and/or runs not in the archive:
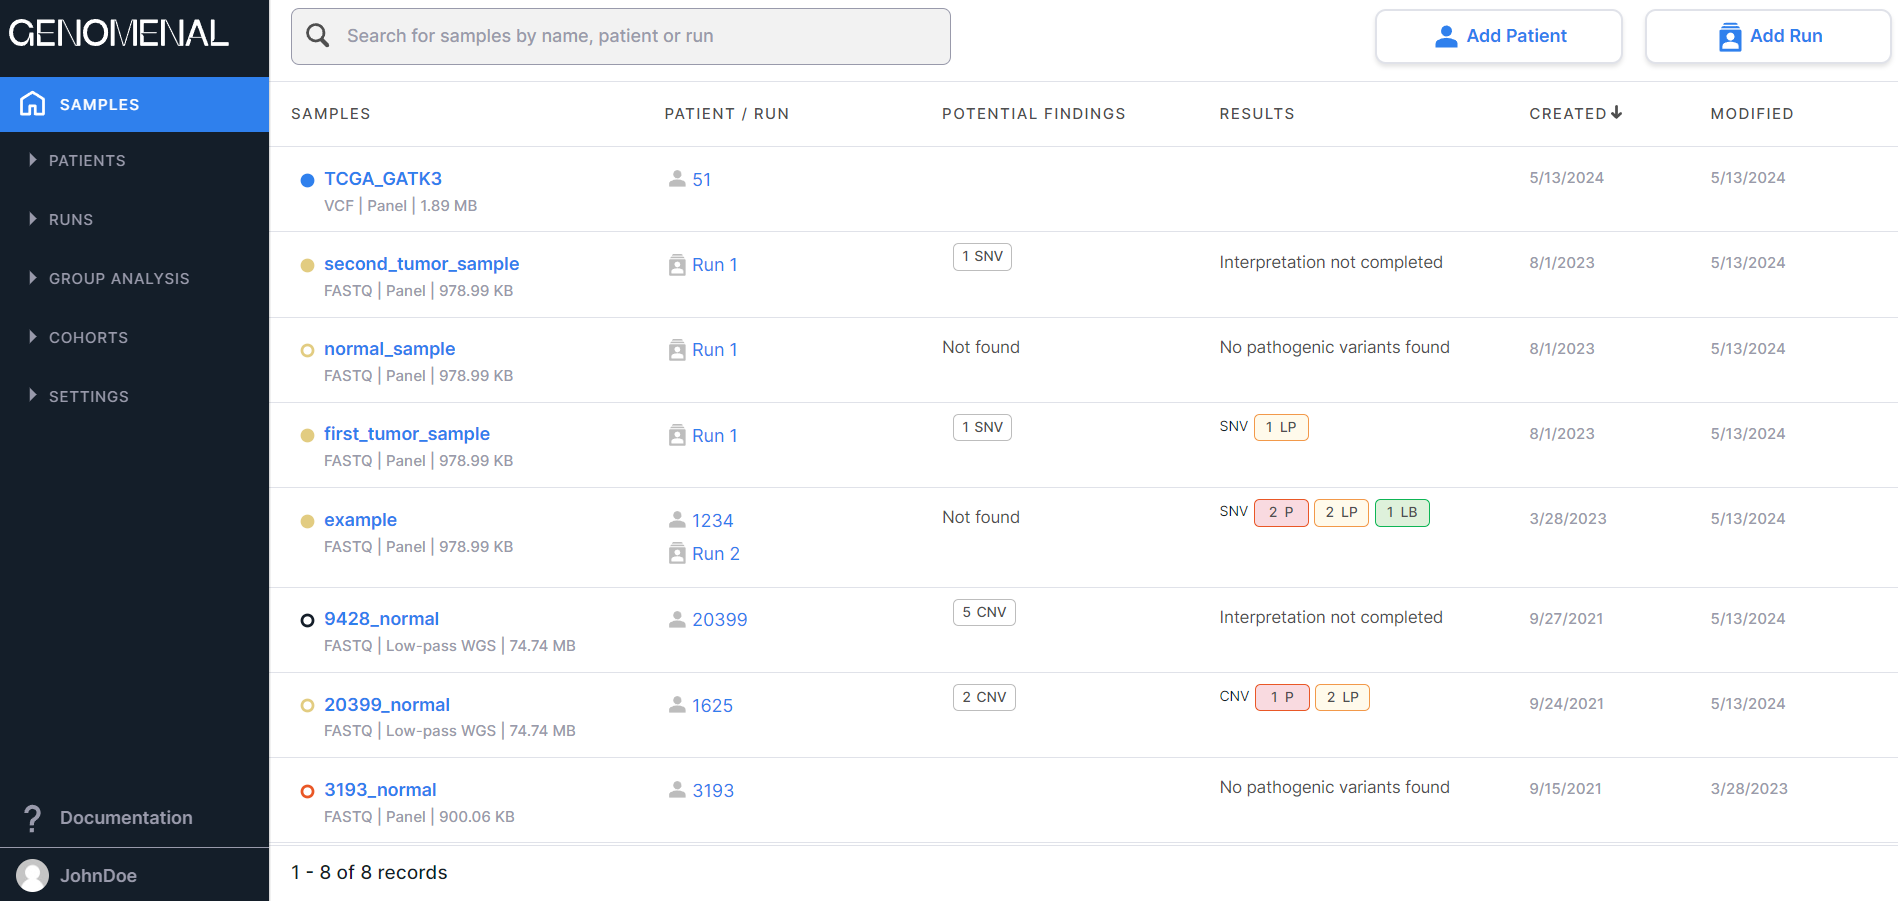
At the top of the page there are:
- Search window allowing to search for samples by file name and by the patient ID or run name to which they belong:

- Button to add a patient to
the system
 .
. - Button to add a run to
the system
 .
.
At the bottom of the page there are:
- Sample count information: the order of samples displayed on the page (a maximum of 10 samples can be shown on a page, so the order would be 1-10, 11-20, etc.) and the total number of samples.
- Pagination component:
, which allows to navigate between sample pages. The number of the opened page is highlighted in a blue circle. If you click on this number, the page will reload. To move to a page with a specific number, either click on that number, or click on
, enter the required number and press the enter key or click outside the value field. To move to the previous page, click on
, and to open the next page, click on
.
Columns#
On the "Samples" page, information is presented as a table with the following columns:
- SAMPLES - contains information about samples uploaded into the system that are added to patients or runs that are not in the archive:
- Sample processing status:
- tumor sample in progress, queued, or waiting for the prerequisite stages of the control sample to be completed;
- successfully processed tumor sample;
- tumor sample with problems;
- failed tumor sample;
- normal sample in progress or queued;
- successfully processed normal sample;
- normal sample with problems;
- failed normal sample.
- Name of the sample file without extension and postfixes (if files are named according to the Illumina convention). In the case of paired-end sequencing, only the name of the primary file is given. You can open the sample page by clicking on the file name.
- File format: FASTQ or VCF. For samples uploaded in BAM format, or genotyping data uploaded in TXT, TSV format, the format into which the original data was converted for further analysis will be shown, i.e. FASTQ and BAM, respectively.
- Sequencing type: Panel (targeted sequencing), WES (whole-exome sequencing), WGS (whole-genome sequencing), Low-pass WGS (whole-genome sequencing with low coverage), Unknown (the sequencing type may not be detected for some samples in VCF format). Detected automatically by Genomenal, may be based on Sequencing Type and Capture Kit selected while composing sample set. Displayed only after determintation, i.e. after successful completion of the "Determine Kit" stage for FASTQ files and the "Identify" or "SNVs/Indels annotation" stages for VCF files.
- Sample size. In the case of paired-end sequencing, the total size of the sample files will be displayed.
- PATIENT / RUN - contains patient ID (indicated
by
) and/or run name (indicated by
) to which the sample belongs. By clicking on the patient ID or the run name, you can open the patient page or the run page, respectively.
- POTENTIAL FINDINGS are SNVs/Indels or copy number variations (CNVs) discovered in a sample that meet
some criteria specified in the report template. Potential findings are described in detail
in the corresponding section. Information about the number of potential findings
among SNVs/Indels is represented by the icon
, and information about the number of potential findings among CNVs is represented by the icon
. By clicking on the icon you will open the sample page. If reports were generated for a sample with potential findings used, but either no findings were found in any report, or all detected findings were included to interpretation results or excluded from the list of potential findings, then the result will be “Not Found”.
- RESULTS are the sample interpretation results, i.e. information on the number of mutations with a particular pathogenicity class discovered in the sample and included to the interpretation results. It may include information about SNVs/Indels, designated "SNV", and information about copy number variations, designated "CNV". The information is presented as follows:
- pathogenicity icons indicating the number of mutations with this pathogenicity:
- pathogenic mutations:
;
- likely pathogenic mutations:
;
- mutations of uncertain significance:
;
- likely benign mutations:
;
- benign mutations:
.
- pathogenic mutations:
- message "Interpretation not completed" if mutations with a particular pathogenicity class were included to the interpretation results, but the sample interpretation was not completed.
- message "No pathogenic variants found" if the sample interpretation has been completed, but no mutations with a particular pathogenicity class have been included to the interpretation results.
- empty value if sample interpretation was not completed and no mutations with a particular pathogenicity class were included to the interpretation results.
- CREATED - contains the date of the beginning of uploading sample data into the system in M/d/yyyy format;
- MODIFIED - contains the date of the last changes in the sample data in M/d/yyyy format.
Sorting#
By default, the table is sorted from samples uploaded last to samples uploaded first (i.e., in descending order
of the "Created" column values). The table can be sorted by ascending or descending values of all its columns.
To sort a table by column values, click on its name (click once to sort ascending, or twice to sort descending).
After this, an arrow will appear next to the column name (when sorting in ascending order) or
(when
sorting in descending order). To reset the sorting, refresh your browser page. The values of the "Samples", "Patient",
and "Run" columns are sorted alphabetically, and the values of "Created" and "Modified" columns are sorted from
earliest to latest date and vice versa.
The sort order for the "Potential findings" column is as follows:
- Samples with potential findings detected (sorted by amount of findings);
- Samples with the result "Not found";
- Samples for which no reports with potential findings used were generated.
The sort order for the "Results" column is as follows:
- Samples that have pathogenic or likely pathogenic variants or variations in the results;
- Samples that do not have pathogenic or likely pathogenic variants or variations in the results, but the variants or variations with a different pathogenicity class were added;
- Samples with the result "No pathogenic variants found";
- Samples with the result "Interpretation not completed";
- Samples for which the interpretation has not been completed and which do not have any variants with a determined pathogenicity that was not added to report or which do not have any variations with a determined pathogenicity.
Go to SNV Viewer#
If the "SNVs/Indels annotation" stage has been successfully completed for the sample, you can open
sample's SNV Viewer by hovering over a sample row and
clicking on .
For a tumor sample, you can open SNV Viewer with somatic SNVs/Indels, in which you can also see
germline SNVs/Indels discovered in this sample or in the control sample if you change the value of
the filter by origin from Somatic to Germline or reset the filtering by it.
For a non-tumor sample, you can open SNV Viewer with germline SNVs/Indels discovered in that sample.
Go to CNV Viewer#
If the "Copy number variations discovery" stage has been successfully completed for the sample, you can open
sample’s CNV Viewer by hovering over a sample row and
clicking on to open CNV Viewer with segments discovered in the sample, or on
to open CNV Viewer with bins
discovered in the sample.
Sample Interpretation#
To complete sample's interpretation, hover over the sample row and
click on . You will see
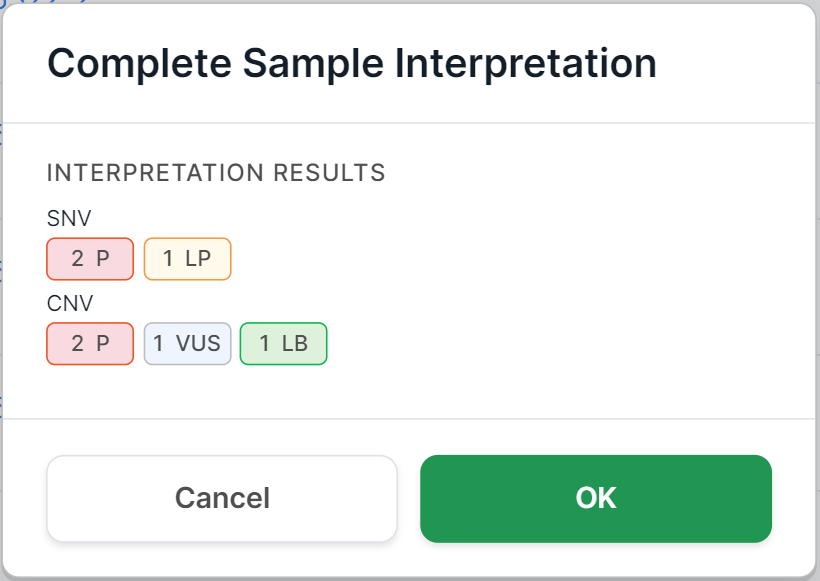
a confirmation window. For non-tumor samples, it looks like this:
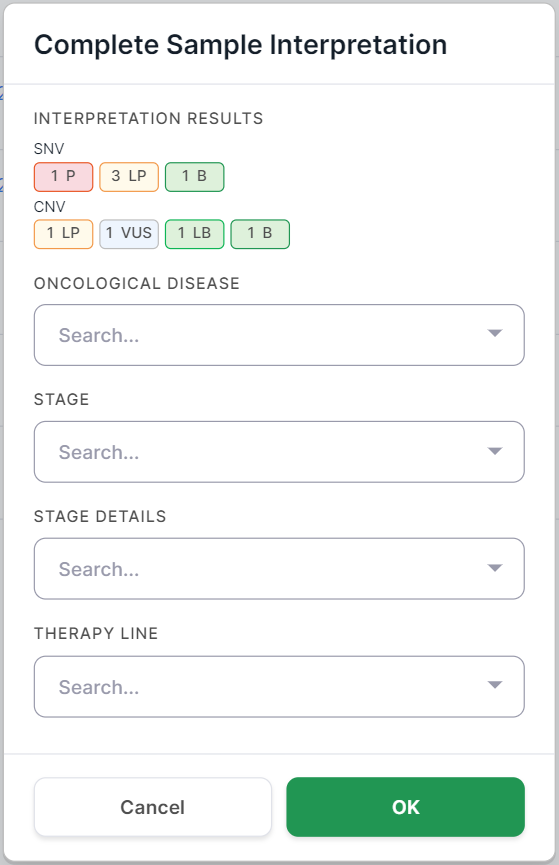
And for tumor samples, it also includes fields about the oncological disease:
After you click on , the interpretation
results will be displayed in the “Results” column.
To resume sample's interpretation, hover over the sample row
and click on .
Delete sample#
To remove a sample from the system, hover over the sample row and
click on . You will see a confirmation window:
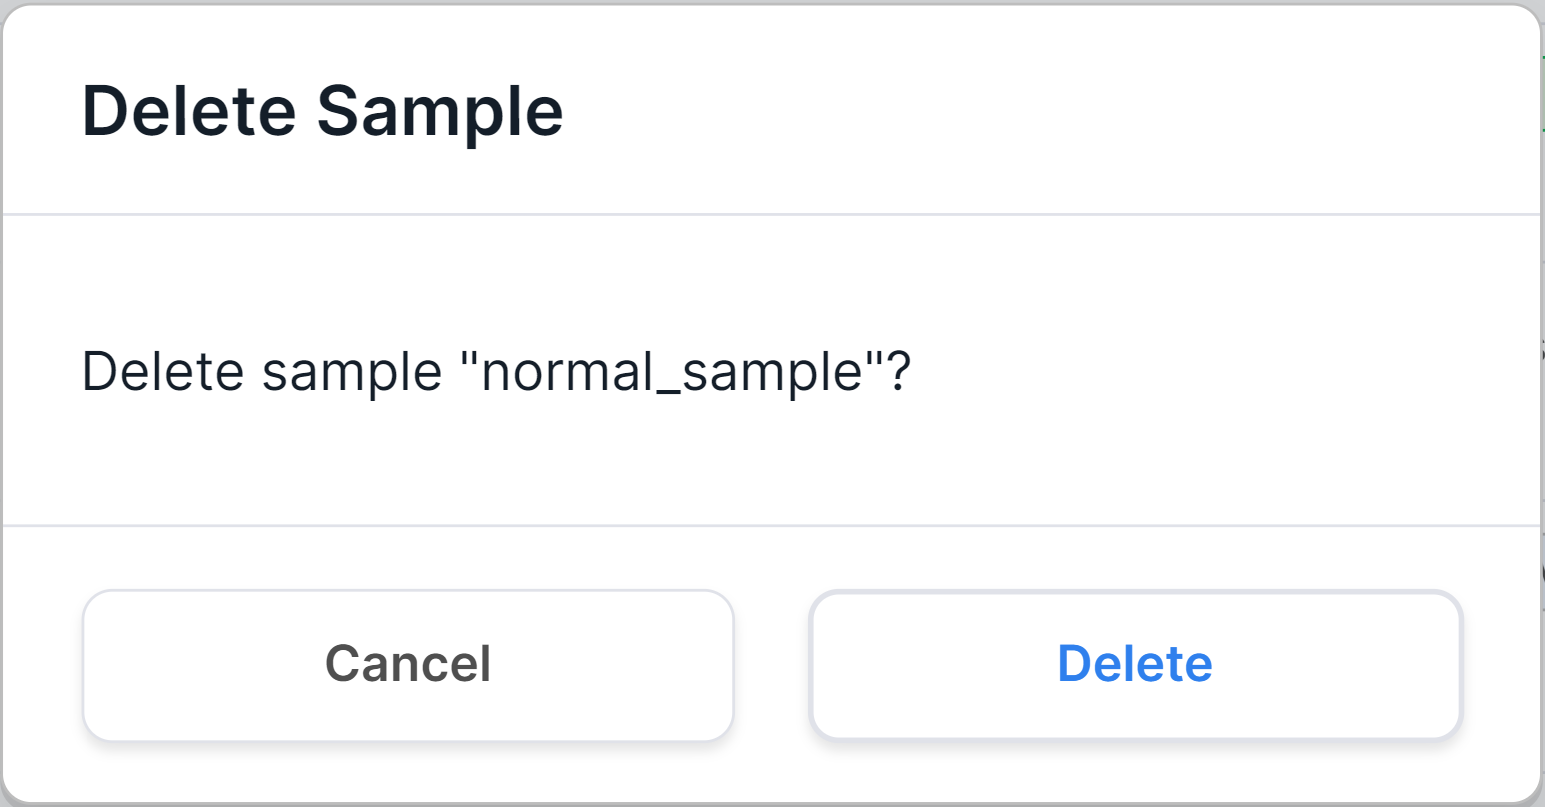
To confirm deleting the sample, click on . After
that, the sample will be removed from both the "Samples" page and the patient and/or run page to which it belonged.