Get to Know Genomenal
When you first open Genomenal, you will see a login page. Sign in to an existing account or sign up to the system.
Next, you will see the main page of Genomenal - “Samples”. If you haven't used Genomenal before and don't have any samples uploaded, the page will look like this:
![]()
Subsequently, you will see here all the samples uploaded in this account and added to patients and/or runs not in the archive:

You can see the following sections of Genomenal in the navigation sidebar on the left (lift-click on the corresponding page name to go to the required section):
- Home page "Samples";
- Section "Patients";
- Section "Runs";
- Section "Group analysis";
- Section "Cohorts";
- Section "Settings".
info
The display of sections in the navigation bar can be adjusted on the "Profile Settings" page.
Samples#
The home page "Samples" contains all samples that are uploaded into patients or runs that are not in the archive. If a sample has both a patient and a run defined, it will appear on the "Samples" page unless at least one of these entities is archived.
Click to learn more about the way information is presented on the "Samples" page.
On the "Samples" page, information is presented as a table with the following columns:#
- «SAMPLES» - contains information about samples uploaded into the system that are added to patients or runs that are not in the archive:
- Sample processing status:
 - tumor sample in progress, queued, or waiting for the prerequisite stages of the control sample to be completed;
 - successfully processed tumor sample;
 - tumor sample with problems;
 - failed tumor sample;
 - normal sample in progress or queued;
 - successfully processed normal sample;
 - normal sample with problems;
 -
failed normal sample.
-
failed normal sample. - Name of the sample file without extension and postfixes (if files are named according to the Illumina convention). In the case of paired-end sequencing, only the name of the primary file is given. You can open the sample page by clicking on the file name.
- File format: FASTQ or VCF. For samples uploaded in BAM format, or genotyping data uploaded in TXT, TSV format, the format into which the original data was converted for further analysis will be shown, i.e. FASTQ and BAM, respectively.
- Sequencing type: Panel (targeted sequencing), WES (whole-exome sequencing), WGS (whole-genome sequencing), Low-pass WGS (whole-genome sequencing with low coverage), Unknown (the sequencing type may not be detected for some samples in VCF format). Detected automatically by Genomenal, may be based on Sequencing Type and Capture Kit selected while composing sample set. Displayed only after determintation, i.e. after successful completion of the "Determine Kit" stage for FASTQ files and the "Identify" or "SNVs/Indels annotation" stages for VCF files.
- Sample size. In the case of paired-end sequencing, the total size of the sample files will be displayed.
- «PATIENT / RUN» - contains patient ID (indicated by
 ) and/or run name (indicated by
  )
to which the sample belongs. By clicking on the patient ID or the run name, you can
open the patient page or the run page,
respectively.
)
to which the sample belongs. By clicking on the patient ID or the run name, you can
open the patient page or the run page,
respectively. - «RESULTS» - contains sample interpretation summary: the information on the number of variants of a particular
pathogenicity class discovered in the sample
and included to report
(Pathogenic:
 , Likely pathogenic:
  , Uncertain significance:
  , Likely benign:
  , Benign:
  ).
Results are displayed if sample interpretation has been completed (as described below) or if a variant
with a particular pathogenicity has been included to report.
If the interpretation has not been completed, but variants with a particular pathogenicity class have been
included to report, then the result will be "Interpretation not completed". If the
sample interpretation has been completed, but no variants with a particular pathogenicity class have been
included to report, then the result will be "No pathogenic variants found".
).
Results are displayed if sample interpretation has been completed (as described below) or if a variant
with a particular pathogenicity has been included to report.
If the interpretation has not been completed, but variants with a particular pathogenicity class have been
included to report, then the result will be "Interpretation not completed". If the
sample interpretation has been completed, but no variants with a particular pathogenicity class have been
included to report, then the result will be "No pathogenic variants found". - «CREATED» - contains the date of the beginning of uploading sample data into the system in M/d/yyyy format;
- «MODIFIED» - contains the date of the last changes in the sample data in M/d/yyyy format.
By default, the table is sorted from samples uploaded last to samples uploaded first (i.e., in descending order
of the "Created" column values). The table can be sorted by ascending or descending values of all its columns.
To sort a table by column values, click on its name (click once to sort ascending, or twice to sort descending).
After this, an arrow ![]() will appear next to the column name (when sorting in ascending order) or
will appear next to the column name (when sorting in ascending order) or ![]() (when
sorting in descending order). To reset the sorting, refresh your browser page. The values of the "Samples", "Patient",
and "Run" columns are sorted alphabetically, and the values of "Created" and "Modified" columns are sorted from
earliest to latest date and vice versa. The sort order for the "Results" column is as follows:
(when
sorting in descending order). To reset the sorting, refresh your browser page. The values of the "Samples", "Patient",
and "Run" columns are sorted alphabetically, and the values of "Created" and "Modified" columns are sorted from
earliest to latest date and vice versa. The sort order for the "Results" column is as follows:
- Samples that have pathogenic or likely pathogenic variants or variations in the results;
- Samples that do not have pathogenic or likely pathogenic variants or variations in the results, but the variants or variations with a different pathogenicity class were added;
- Samples with the result "No pathogenic variants found";
- Samples with the result "Interpretation not completed";
- Samples for which the interpretation has not been completed and which do not have any variants with a determined pathogenicity that was not added to report or which do not have any variations with a determined pathogenicity.
When you hover over a sample row, the following active elements appear:
 - button to open SNV Viewer of the sample. For a tumor sample, this is SNV Viewer with somatic SNVs/Indels, in which you can also see SNVs/Indels from SNV Viewer with germline mutations if you change the filter value by origin from Somatic to Germline or clear filtering by it. For a non-tumor sample, this is SNV Viewer with only germline SNVs/Indels discovered in that sample. The button is displayed if the "SNVs/Indels annotation" stage has successfully completed for the sample.
 - button to open the sample CNV Viewer with the segments discovered in that sample. The button is displayed if the "Copy number variations discovery" stage has successfully completed for the sample.
 - button to open the sample CNV Viewer with the bins discovered in that sample. The button is displayed if the "Copy number variations discovery" stage has successfully completed for the sample.
 or
or  - buttons to complete and resume sample interpretation, respectively. After clicking the complete button, you will see a confirmation window:

After you click on  , interpretation
summary from this window will be displayed in the «RESULTS» column.
, interpretation
summary from this window will be displayed in the «RESULTS» column.
 - button to delete a sample from the system. After clicking on it, you will see a confirmation window:
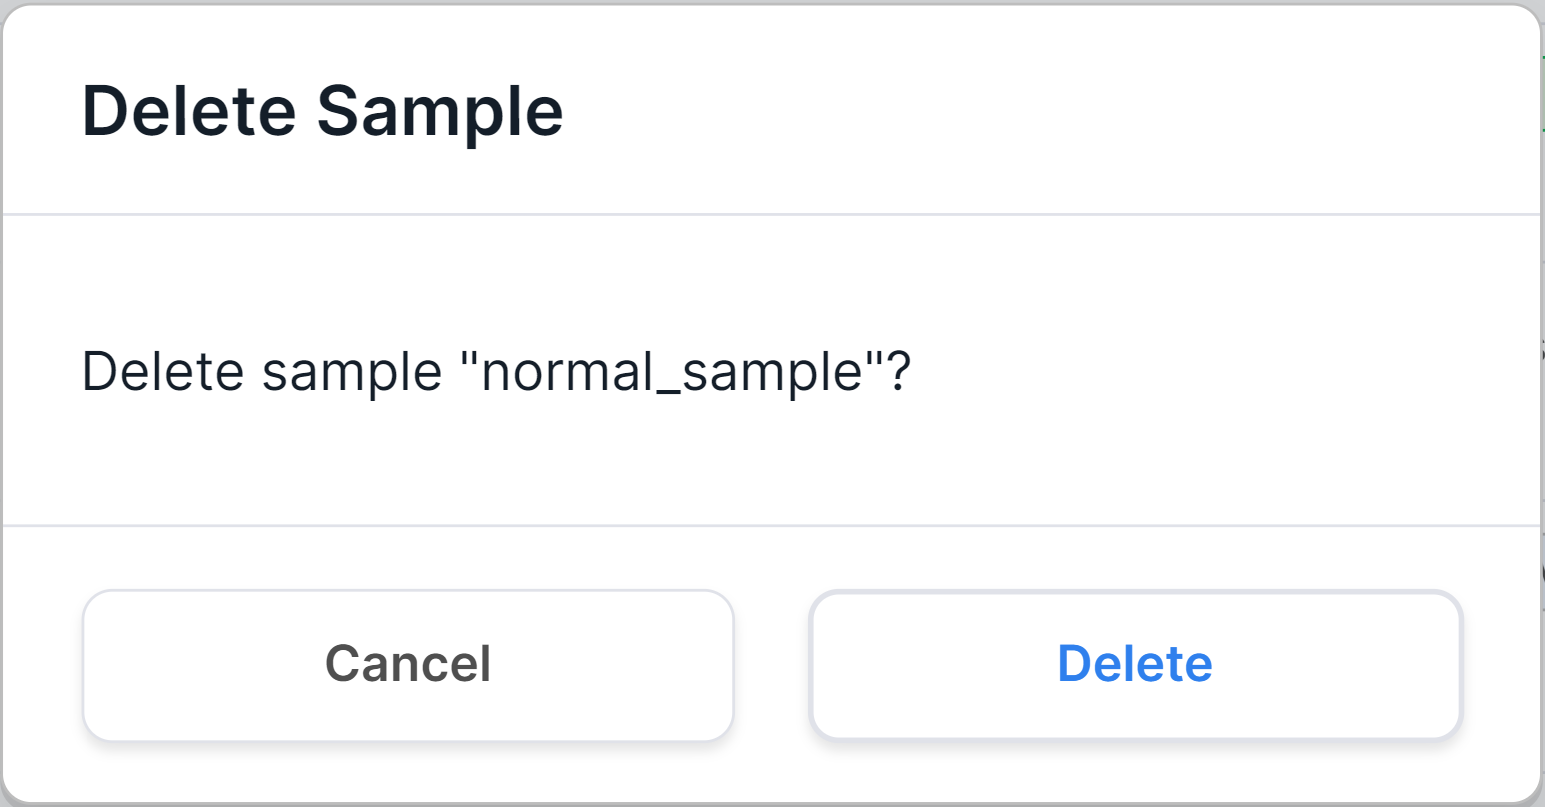
After confirming the action by clicking on  ,
the sample will be removed both from the "Samples" page and from the page of the patient and/or run to which it
was added.
,
the sample will be removed both from the "Samples" page and from the page of the patient and/or run to which it
was added.
At the top of the page there are:
- Search window allowing to search for samples by file name and by the patient ID or run name to which they belong:

- Button to add a patient to
the system
 .
. - Button to add a run to
the system
 .
.
At the bottom of the page there are:
- Sample count information: the order of samples displayed on the page (a maximum of 10 samples can be shown on a page, so the order would be 1-10, 11-20, etc.) and the total number of samples.
- Pagination component:
 , which allows to navigate between sample pages. The number of the opened page is highlighted in a blue circle. If you click on this number, the page will reload. To move to a page with a specific number, either click on that number, or click on
  , enter the required number and press the enter key or click outside the value field. To move to the previous page, click on
  , and to open the next page, click on
  .
.
Patients#
The "Patients" section includes the following pages:
- "All Patients" - contains all patients added to the system and their data.
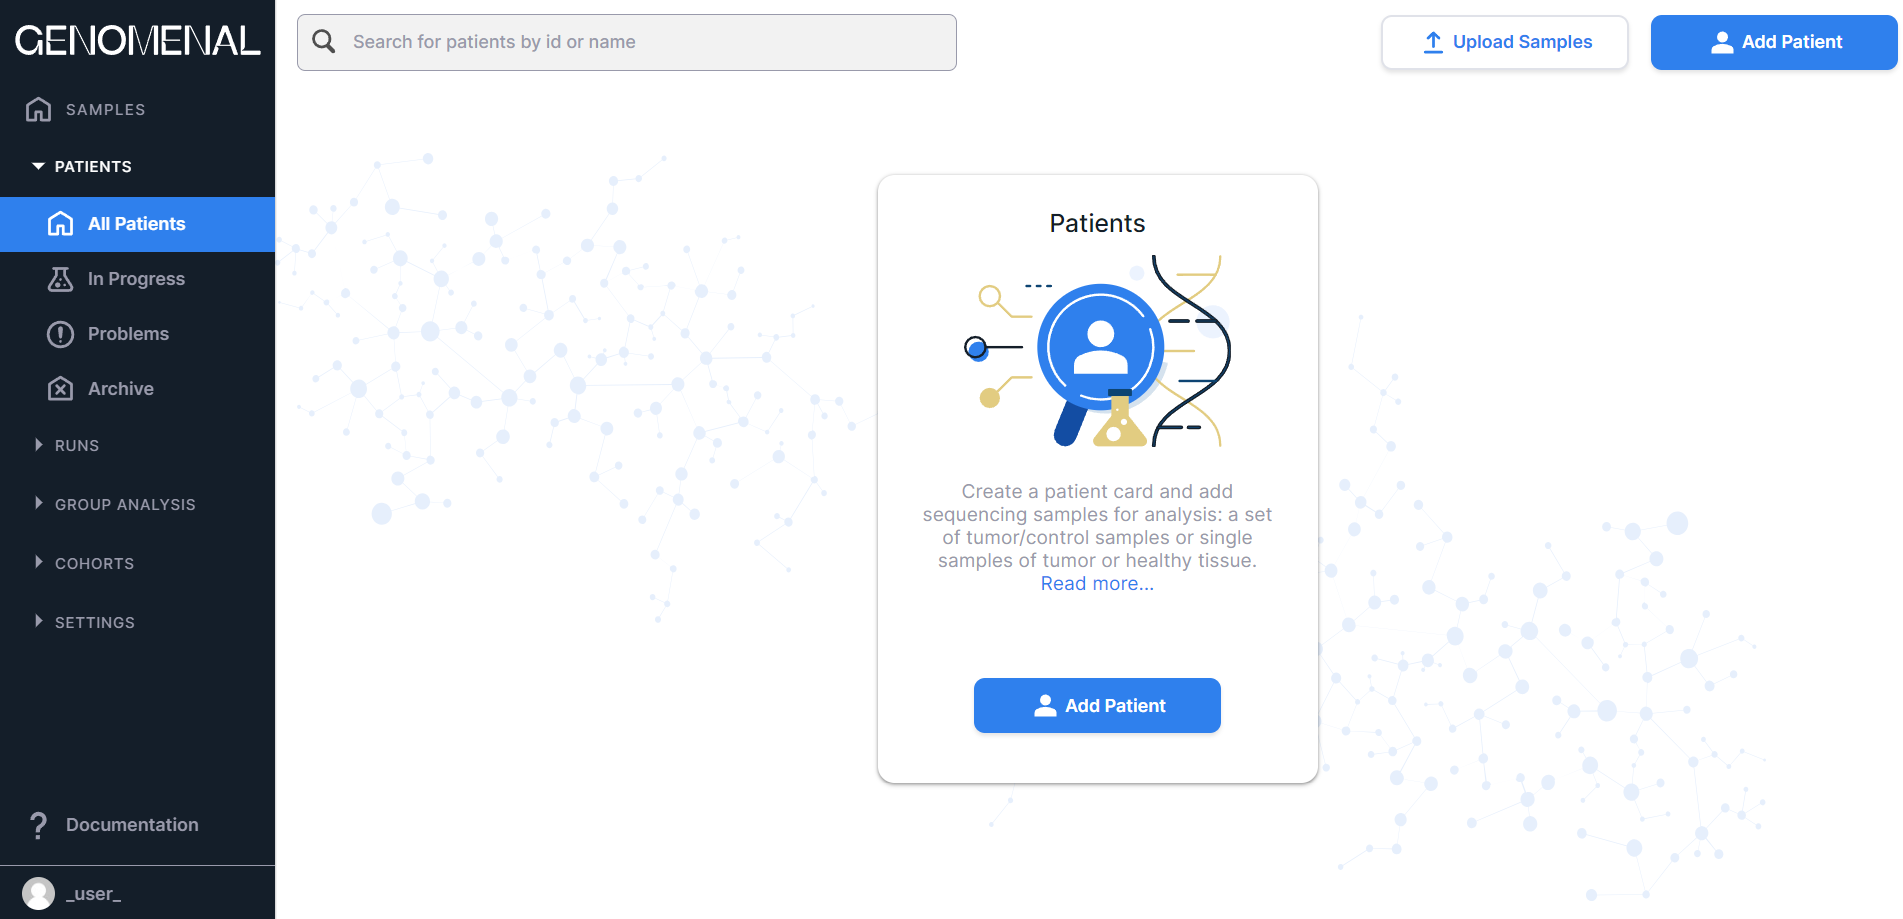
If you don't have any patients added yet, the "All Patients" page looks like this:
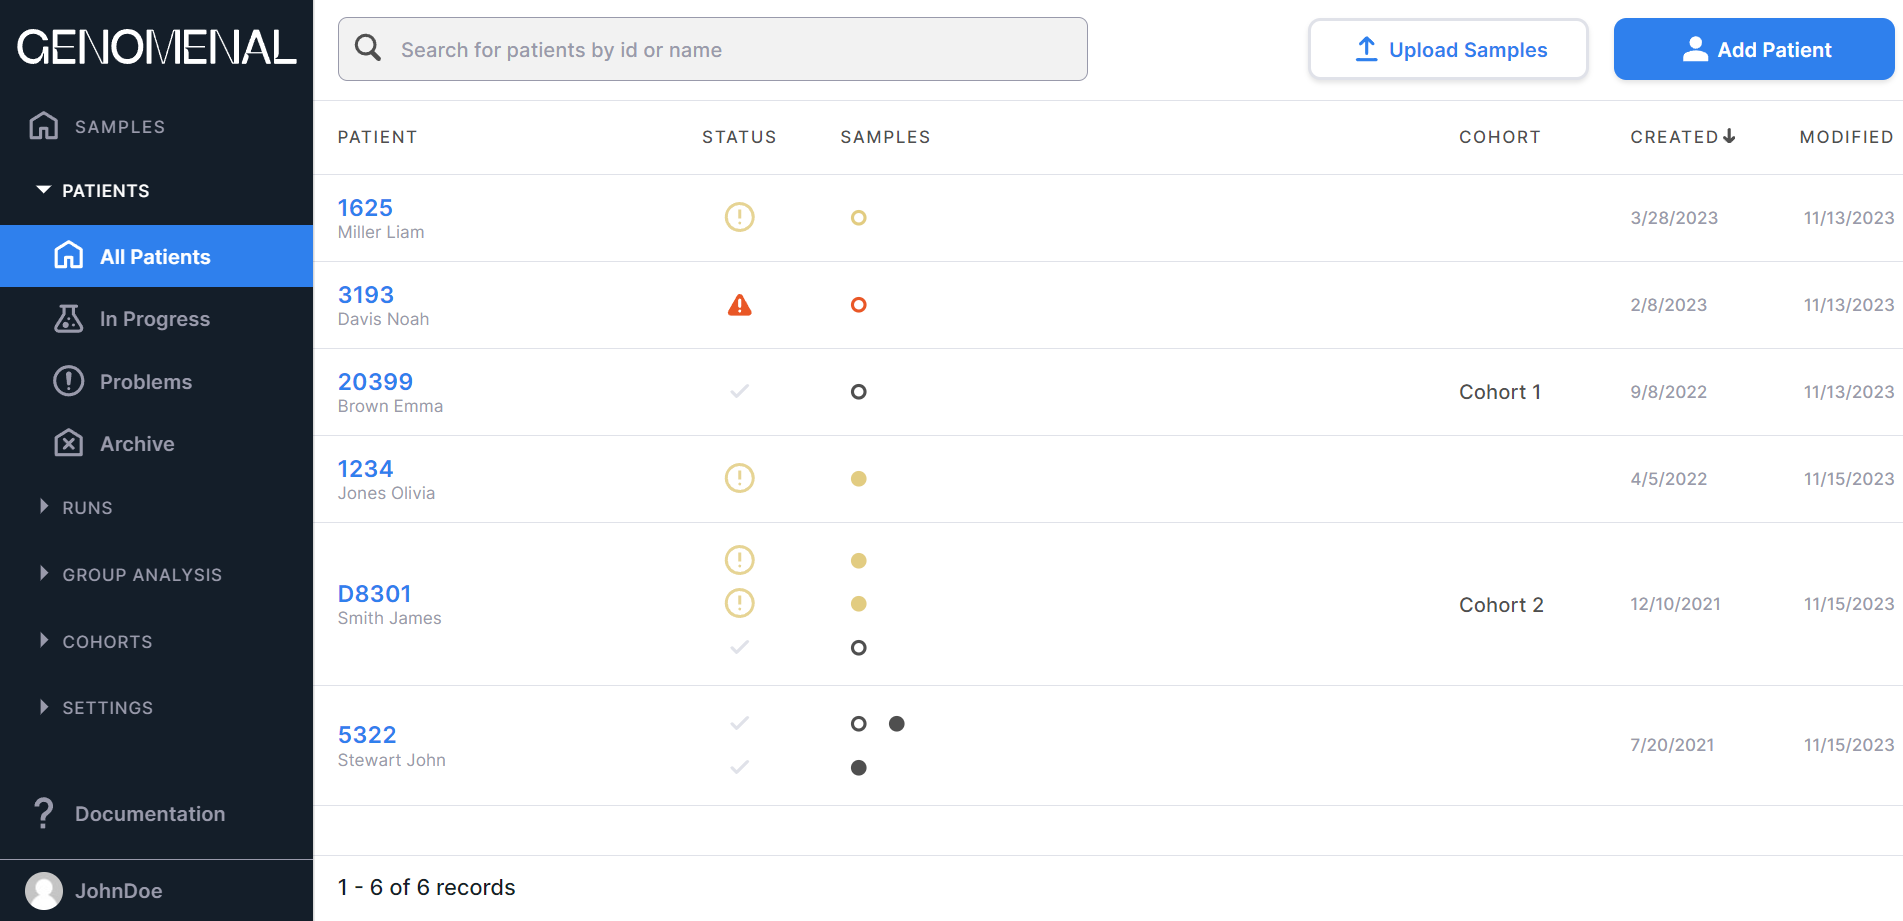
The page with added patients looks like this:
- “In Progress” - contains those patients whose data is being currently processed.
- “Problems” - contains those patients with data processing problems or with peculiar data.
- “Archive” - contains those patients whose data has been archived. You can transfer irrelevant data or data for later deletion here. Archived patients are not displayed on the "All Patients" page.
Click here to learn more about presenting information on the "Patients" section pages
The "Patients" section pages present the table with the following columns:#
- "PATIENT" - contains information about created patients (ID, first name, last name);
- "STATUS" - contains information about the statuses of uploaded samples of each
patient:
 - in progress;
 - queued;
 - success,
 - problems,
 - failed;
 - "SAMPLES" - contains information about the uploaded samples of each
patient: - tumor sample in progress, queued or waiting for the prerequisite stages of the control sample to be completed; - successfully processed tumor sample; - tumor sample with problems; - failed tumor sample; - normal sample in progress or queued; - successfully processed normal sample; - normal sample with problems; -
failed normal sample;
- "COHORT" - contains the cohort name of the patient;
- "CREATED" - contains the date of the patient creation in M/d/yyyy format;
- "MODIFIED" - contains the date of the last change in the patient data in M/d/yyyy format.
By default, the table is sorted from patients added last to patients added first (i.e., in descending order
of the "Created" column values). The table can be sorted by ascending or descending values of the following
columns: "Patient", "Cohort", "Created", "Modified".
To sort a table by column values, click on its name (click once to sort ascending, or twice to sort descending).
After this, an arrow ![]() will appear next to the column name (when sorting in ascending order) or
will appear next to the column name (when sorting in ascending order) or ![]() (when
sorting in descending order). To reset the sorting, refresh your browser page. The values of the "Patient" and
"Cohort" columns are sorted alphabetically, and the values of "Created" and "Modified" columns are sorted from
earliest to latest date and vice versa.
(when
sorting in descending order). To reset the sorting, refresh your browser page. The values of the "Patient" and
"Cohort" columns are sorted alphabetically, and the values of "Created" and "Modified" columns are sorted from
earliest to latest date and vice versa.
If you hover over a patient's row on the "All Patients", "In Progress" or "Problems" pages,
you will see the following active
elements: ![]() to upload patient data and
to upload patient data and ![]() to archive it.
to archive it.
If you hover over a patient's row on the "Archive" page,
you will see the following active
elements: ![]() to restore patient data and
to restore patient data and ![]() to delete it.
to delete it.
You can search for patients by ID or name using a search box at the top of the section pages:

There are following buttons at the top of the "All Patients", "In Progress" and "Problems"
pages:  to upload multiple samples, and
  to add patient.
At the top of the "Archive" page there is
a button  to delete all archived patient data.
At the bottom of the section pages there are:
- Patient count information: the order of patients displayed on the page (a maximum of 10 patients can be shown on a page, so the order would be 1-10, 11-20, etc.) and the total number of patients.
- Pagination component: , which allows to navigate between patient pages. The number of the opened page is highlighted in a blue circle. If you click on this number, the page will reload. To move to a page with a specific number, either click on that number, or click on , enter the required number and press the enter key or click outside the value field. To move to the previous page, click on , and to open the next page, click on .
Runs#
The "Runs" section includes the following pages:
- "Runs" - contains all runs added to the system and their data.
You can read more about the runs here.
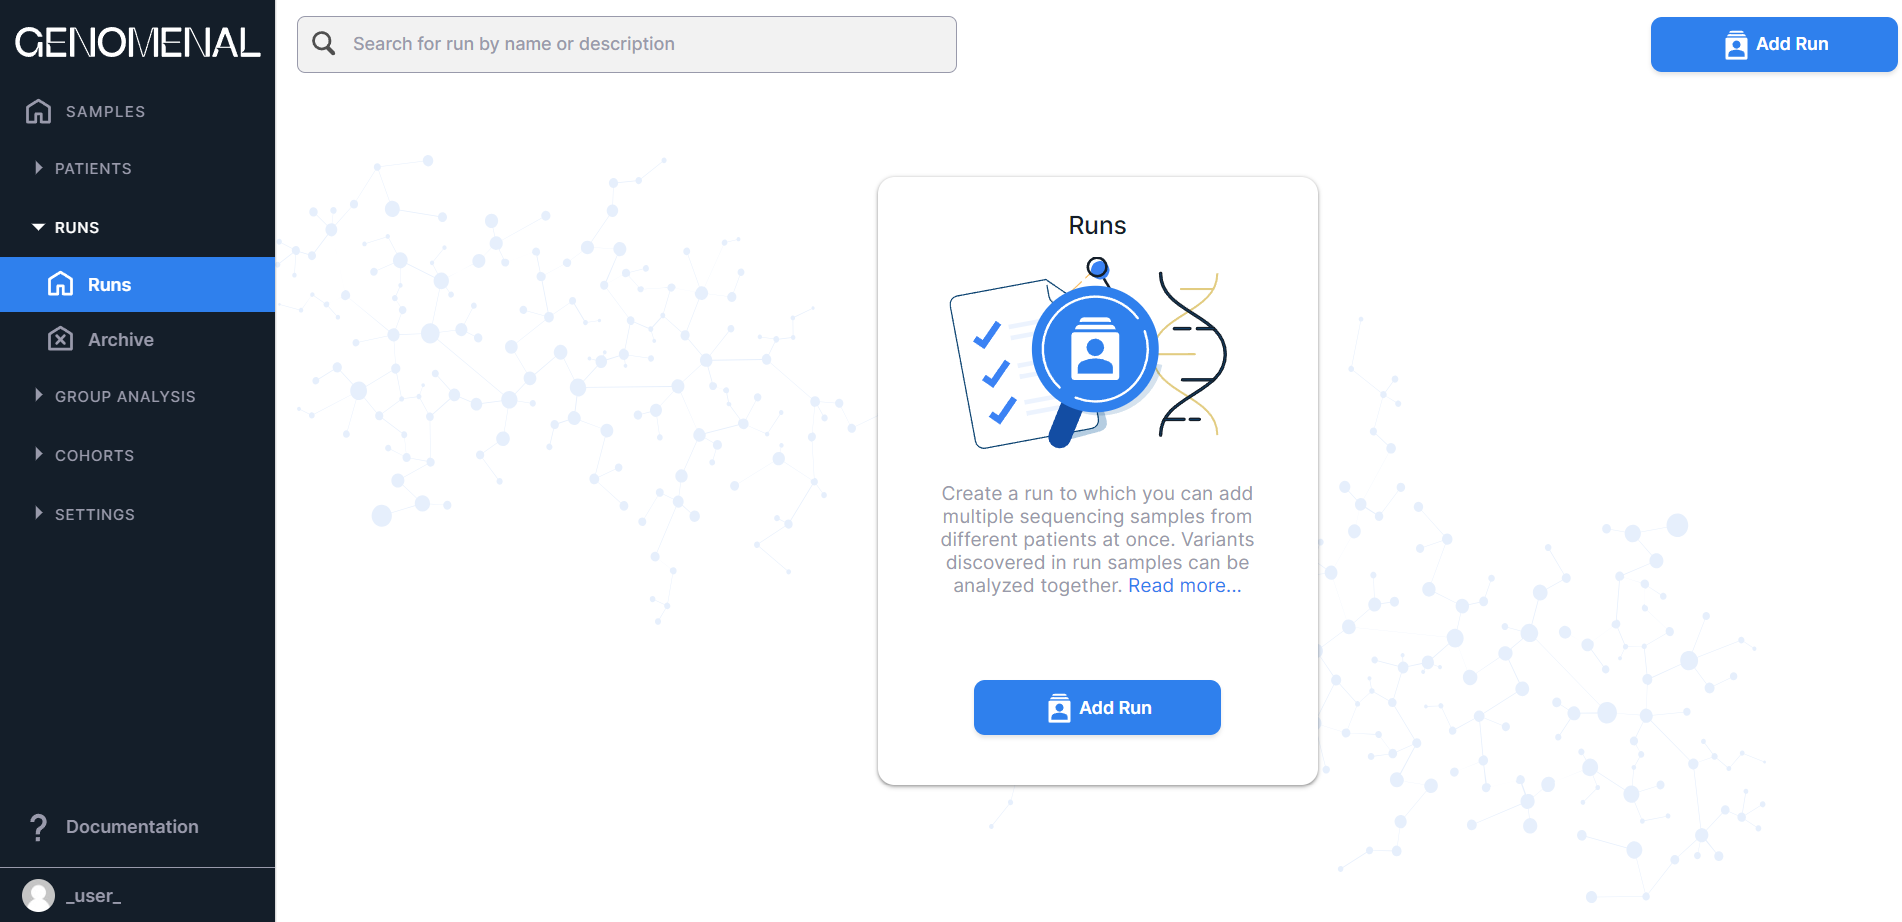
If you don't have any runs added yet, the "Runs" page looks like this:
The page with added runs looks like this:

- “Archive” - contains those runs whose data has been archived. You can transfer irrelevant data or data for later deletion here. Archived runs are not displayed on the "Runs" page.
Click here to learn more about presenting information on the "Runs" section pages
The "Runs" section pages present the table with the following columns:#
- «RUN» - contains the names of the created runs;
- «SAMPLE STATUS» - contains information about the number of uploaded samples that are in a certain status for
each run: - in progress; - queued; - success; - problems; - failed;
- "CREATED" - contains the date of the run creation in M/d/yyyy format;
- "MODIFIED" - contains the date of the last change in the run data in M/d/yyyy format.
By default, the table is sorted from runs added last to runs added first (i.e., in descending order
of the "Created" column values). The table can be sorted by ascending or descending values of the following
columns: "Run", "Created", "Modified".
To sort a table by column values, click on its name (click once to sort ascending, or twice to sort descending).
After this, an arrow ![]() will appear next to the column name (when sorting in ascending order) or
will appear next to the column name (when sorting in ascending order) or ![]() (when
sorting in descending order). To reset the sorting, refresh your browser page. The values of the "Run"
column are sorted alphabetically, and the values of "Created" and "Modified" columns are sorted from
earliest to latest date and vice versa.
(when
sorting in descending order). To reset the sorting, refresh your browser page. The values of the "Run"
column are sorted alphabetically, and the values of "Created" and "Modified" columns are sorted from
earliest to latest date and vice versa.
If you hover over a run's row on the "Runs" page,
you will see an active element ![]() to archive run data.
to archive run data.
If you hover over a run's row on the "Archive" page,
you will see the following active
elements: ![]() to restore run data and
to restore run data and ![]() to delete it.
to delete it.
You can search for run by name or description using a search box at the top of the section pages:

At the top of the "Runs" page there is
a button  to create run.
At the top of the "Archive" page there is
a button to delete all archived run data.
At the bottom of the section pages there are:
- Run count information: the order of runs displayed on the page (a maximum of 10 runs can be shown on a page, so the order would be 1-10, 11-20, etc.) and the total number of runs.
- Pagination component: , which allows to navigate between run pages. The number of the opened page is highlighted in a blue circle. If you click on this number, the page will reload. To move to a page with a specific number, either click on that number, or click on , enter the required number and press the enter key or click outside the value field. To move to the previous page, click on , and to open the next page, click on .
Group analysis#
The "Group analysis" section includes the following pages:
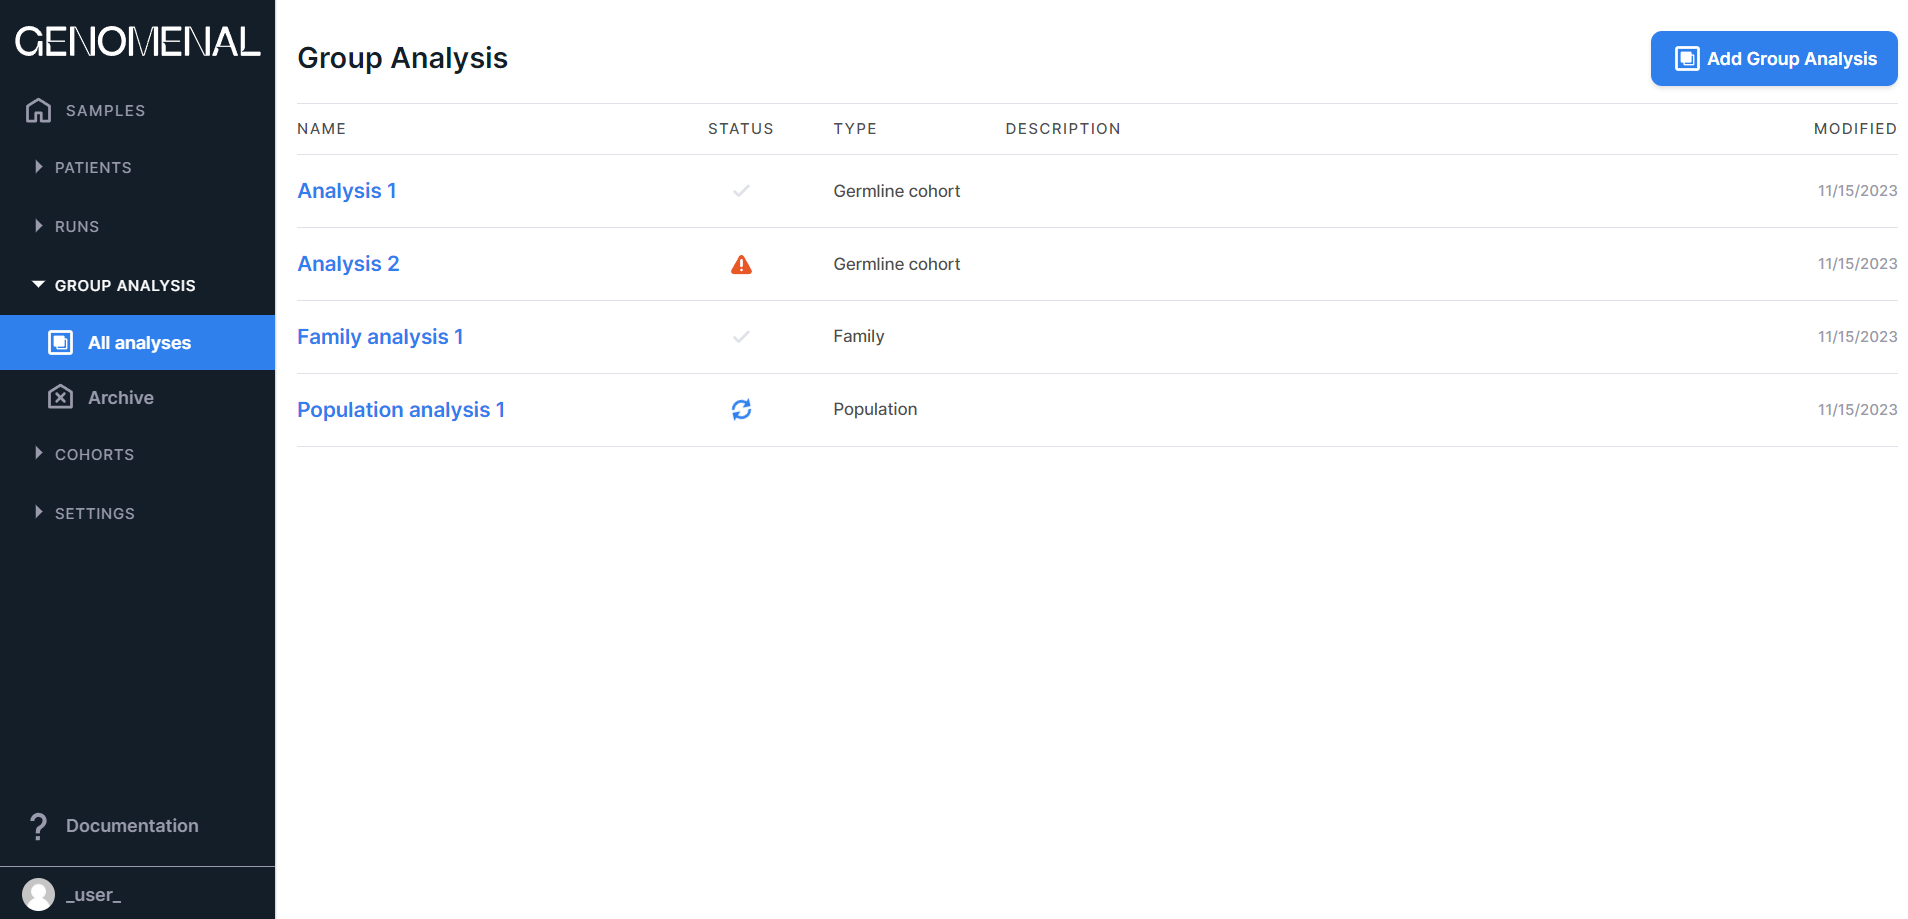
- "All analyses" - contains all group analyses created in the system. You can read more about group analysis here. The page with added group analyzes looks like this:
- “Archive” - contains those group analyses which have been archived. You can transfer irrelevant analyses or analyses for later deletion here. Archived analyses are not displayed on the "All analyses" page.
Click here to learn more about presenting information on the "Group analysis" section pages
The "Group analysis" section pages present the table with the following columns:#
- «NAME» - contains the group analysis name;
- «STATUS» - contains information about the group
analysis status: - in progress; - queued; - success, - failed;
- «TYPE» - contains information about the group analysis type (germline cohort, family, or population);
- «DESCRIPTION» - contains the group analysis description;
- "MODIFIED" - contains the date of the last change of the group analysis in M/d/yyyy format.
The table is sorted by group analysis names.
If you hover over a group analysis's row on the "All analyses" page,
you will see an active element ![]() to archive group
analysis data.
to archive group
analysis data.
If you hover over a group analysis's row on the "Archive" page,
you will see the following active
elements: ![]() to restore group analysis and
to restore group analysis and ![]() to delete it.
to delete it.
At the top of the "All analyses" page there is
a button  to create group analysis.
At the top of the "Archive" page there is
a button to delete all archived group
analyses.
Cohorts#
The "Cohorts" section contains links to the pages of added cohorts and a
button ![]() for adding a cohort.
Patients can be grouped into a cohort by some common feature (for example, by pathology type or data source).
You can read more about cohorts here.
If there are no cohorts added, then the section contains a window for grouping patients into cohorts:
for adding a cohort.
Patients can be grouped into a cohort by some common feature (for example, by pathology type or data source).
You can read more about cohorts here.
If there are no cohorts added, then the section contains a window for grouping patients into cohorts:

After adding cohorts, links to their pages appear in the section. A cohort page contains only data of patients included in this cohort:

If you hover over a cohort's row on the navigation sidebar, you will see an
element ![]() . If you click on it, you will see
the options "Edit" (opens the cohort editing window) and "Delete" (deletes the cohort).
Please note that deleting a cohort does not delete the data of patients included in it.
. If you click on it, you will see
the options "Edit" (opens the cohort editing window) and "Delete" (deletes the cohort).
Please note that deleting a cohort does not delete the data of patients included in it.

Click here to learn more about presenting information on the cohort pages
The cohort pages present the table with the following columns:#
- "PATIENT" - contains information about created patients (ID, first name, last name);
- "STATUS" - contains information about the statuses of uploaded samples of each
patient: - in progress; - queued; - success, - problems, - failed;
- "SAMPLES" - contains information about the uploaded samples of each
patient: - tumor sample in progress, queued or waiting for the prerequisite stages of the control sample to be completed; - successfully processed tumor sample; - tumor sample with problems; - failed tumor sample; - normal sample in progress or queued; - successfully processed normal sample; - normal sample with problems; -
failed normal sample;
- "COHORT" - contains the cohort name of the patient;
- "CREATED" - contains the date of the patient creation in M/d/yyyy format;
- "MODIFIED" - contains the date of the last change in the patient data in M/d/yyyy format.
By default, the table is sorted from the patients added last to the system to the patients added first (i.e., in
descending order of the "Created" column values). The table can be sorted by ascending or descending values of the
following columns: "Patient", "Cohort", "Created", "Modified".
To sort a table by column values, click on its name (click once to sort ascending, or twice to sort descending).
After this, an arrow ![]() will appear next to the column name (when sorting in ascending order) or
will appear next to the column name (when sorting in ascending order) or ![]() (when
sorting in descending order). To reset the sorting, refresh your browser page. The values of the "Patient" and
"Cohort" columns are sorted alphabetically, and the values of "Created" and "Modified" columns are sorted from
earliest to latest date and vice versa.
(when
sorting in descending order). To reset the sorting, refresh your browser page. The values of the "Patient" and
"Cohort" columns are sorted alphabetically, and the values of "Created" and "Modified" columns are sorted from
earliest to latest date and vice versa.
If you hover over a patient's row, you will see the following active
elements: ![]() to upload patient data and
to upload patient data and ![]() to archive it.
to archive it.
You can search for patients included in the cohort by ID or name using a search box at the top of the cohort page:
There are following buttons at the top of the cohort
pages: to upload multiple data for different patients,  to create a group analysis of the samples of the patients included in the cohort and to add patient.
At the bottom of the section pages there are:
- Information about the number of patients included in the cohort: the order of patients displayed on the page (a maximum of 10 patients can be shown on a page, so the order would be 1-10, 11-20, etc.) and the total number of patients.
- Pagination component: , which allows to navigate between cohort patient pages. The number of the opened page is highlighted in a blue circle. If you click on this number, the page will reload. To move to a page with a specific number, either click on that number, or click on , enter the required number and press the enter key or click outside the value field. To move to the previous page, click on , and to open the next page, click on .
Settings#
The "Settings" section includes the pages "Settings presets", "Report templates", "Gene panels", "Capture kits" and "Custom annotations".
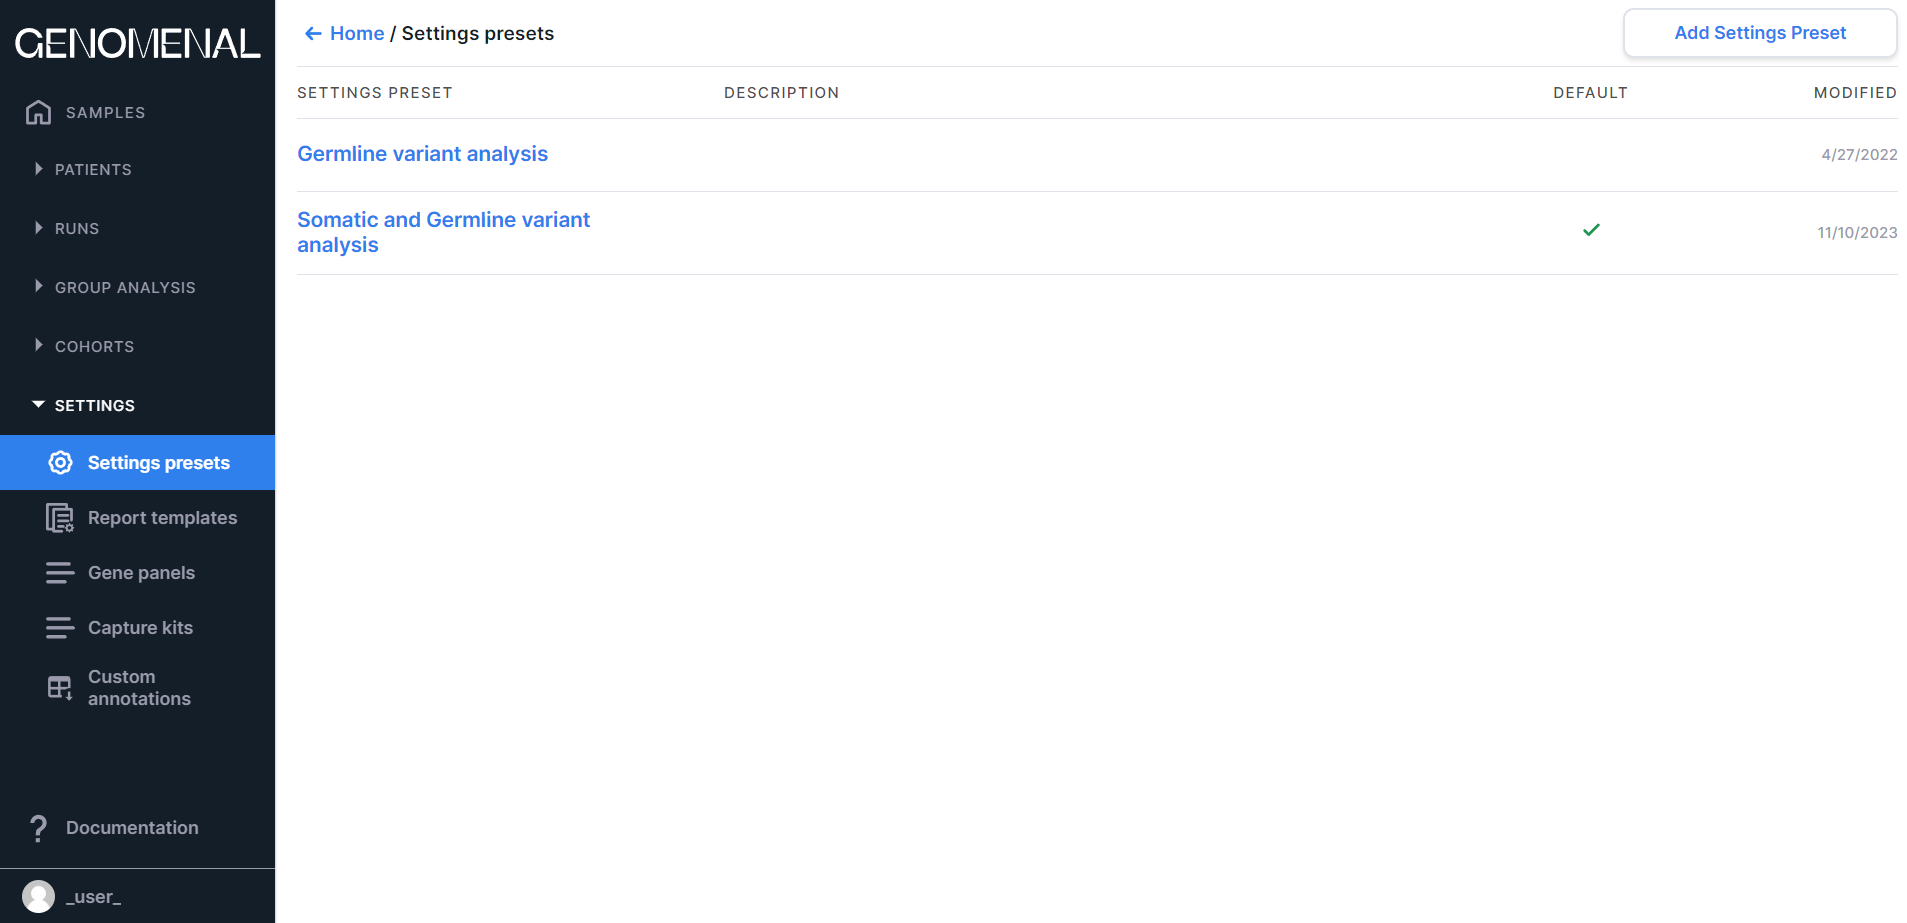
Settings presets#
The page contains preset settings for sample analysis. You can read more about settings presets here.
note
The number and type of preset settings depends on the initial settings made by the System administrator.
Click here to learn more about presenting information on the "Settings presets" page
The "Settings presets" page presents the table with the following columns:#
- «SETTINGS PRESET» - contains the settings preset name;
- «DESCRIPTION» - contains the settings preset description;
- «DEFAULT» - the settings preset that contains the
checkmark
 is selected by default for sample
analysis;
is selected by default for sample
analysis; - "MODIFIED" - contains the date of the last change in the settings preset in M/d/yyyy format.
The table is sorted by settings preset names.
If you hover over a settings preset's row, you will see the following active
elements: ![]() to set a default preset and
to set a default preset and ![]() to archive preset.
to archive preset.
At the top of the page there is
a button  to create settings preset.
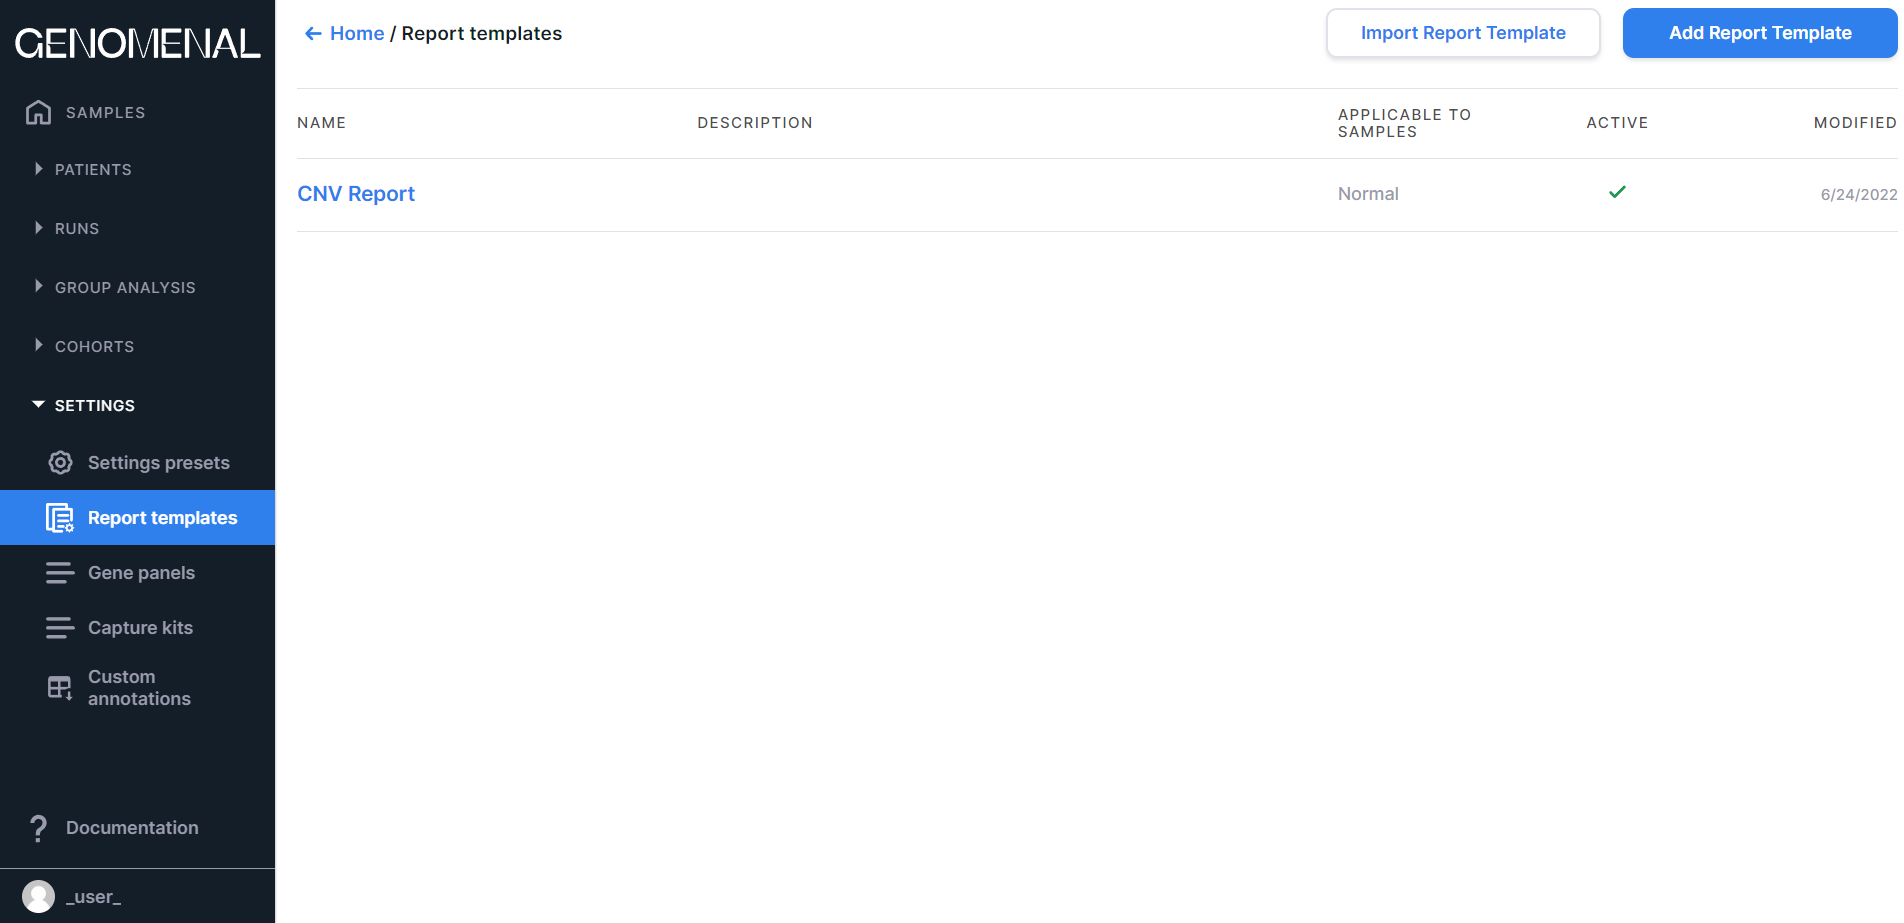
Report templates#
The page contains report templates designed to present the results of sample analysis in the form of reports. You can read more about report templates here.
note
The number and type of report templates depends on the initial settings made by the System administrator.
Click here to learn more about presenting information on the "Report templates" page
The "Report templates" page presents the table with the following columns:#
- «NAME» - contains the report name (names the report tab on the sample page);
- «DESCRIPTION» - contains the report template description;
- «APPLICABLE TO SAMPLES» - contains information about the type of samples to which the template is applicable: Any, Tumor, or Normal;
- «ACTIVE» - those report templates that contain the
checkmark are active (so they will be
used in the presentation of the results of the analysis of the samples of the corresponding type);
- "MODIFIED" - contains the date of the last change in the report template in M/d/yyyy format.
The table is sorted by report template names.
If you hover over a report template's row, you will see an active
element ![]() to delete template.
to delete template.
At the top of the page there are the following
buttons:  to import report template and
  to create a template.
Gene panels#
The page contains gene sets, which you can use to filter the analysis results. You can read more about gene panels here.
Click here to learn more about presenting information on the "Gene panels" page
The "Gene panels" page presents the table with the following columns:#
- «GENE PANEL» - contains the gene panel name;
- «DESCRIPTION» - contains the gene panel description.
The table is sorted by gene panel names.
If you hover over a gene panel's row, you will see an active
element ![]() to delete panel.
to delete panel.
At the top of the page there are the following
buttons:  to create a panel by selecting genes from a list of all genes or adding genes associated with a specific term from Human Phenotype Ontology, and
  to create a panel by importing the prepared gene list, and
  to import a panel
from the library of the most common clinical panels uploaded by the System administrator.
to import a panel
from the library of the most common clinical panels uploaded by the System administrator.
Capture kits#
The page contains built-in and uploaded capture kits that can be specified when uploading targeted sequencing results for more accurate and faster analysis. You can read more about capture kits here.
Click here to learn more about presenting information on the "Capture kits" page
The "Capture kits" page presents the table with the following columns:#
- «NAME» - contains the capture kit name (the name of uploaded capture kit file). If you click on the capture kit name, you can download the capture kit file in BED format;
- «TYPE» - contains information about the type of capture kit: Built-in, or Custom (uploaded by user);
- «LENGTH» - contains information about the total length of the capture kit across all genomic intervals.
The table is sorted first by capture kit type (custom kits go first, then built-in kits), and then by capture kit names.
If you hover over a capture kit's row, you will see the following active
elements: ![]() to download the uploaded capture kit file (file before the processing) in BED format, and
to download the uploaded capture kit file (file before the processing) in BED format, and ![]() to delete capture kit.
to delete capture kit.
At the top of the page there is a button  to
upload capture kit file.
to
upload capture kit file.
Custom annotations#
The page contains the uploaded annotations by which the discovered variants will be annotated. You can read more about custom annotations here.
Click here to learn more about presenting information on the "Custom annotations" page
The "Custom annotations" page presents the table with the following columns:#
- "NAME" - contains the custom annotation name (can be set or changed until the annotation is successfully processed, otherwise matches the name of the uploaded annotation file);
- "STATUS" - contains information about the statuses of uploaded
annotations:
 - the annotation preparation has not been started yet;
 - the annotation preparation has started but not yet completed;
 - the annotation preparation completed successfully;
 - the annotation preparation has completed successfully, but there were non-critical problems during processing (details can be found on the custom annotation page in "Status" section);
 - the
annotation preparation failed (details can be found on the custom annotation page in "Status" section);
- the
annotation preparation failed (details can be found on the custom annotation page in "Status" section); - "TYPE" - if the annotation has
 type it is used as COSMIC database; if the annotation
has type it is used as pathogenicity database (data on the variant pathogenicity); if the annotation has
  type it is used as frequency database (data on the variant occurrence in the population); if the annotation has
  type
it is used as RUseq database;
type
it is used as RUseq database; - "MODIFIED" - contains the date of the last change in the custom annotation in M/d/yyyy format.
The table is sorted by the date custom annotations were added (most recently added annotations to earlier added annotations).
If you hover over a custom annotation's row, you will see an active
element ![]() to to delete annotation.
to to delete annotation.
At the top of the page there is a button  to
add custom annotation.
to
add custom annotation.
User menu#
You can see the user login at the bottom of the navigation sidebar. If you hover over it and click on the appeared
element ![]() , you will see the user menu:
, you will see the user menu:
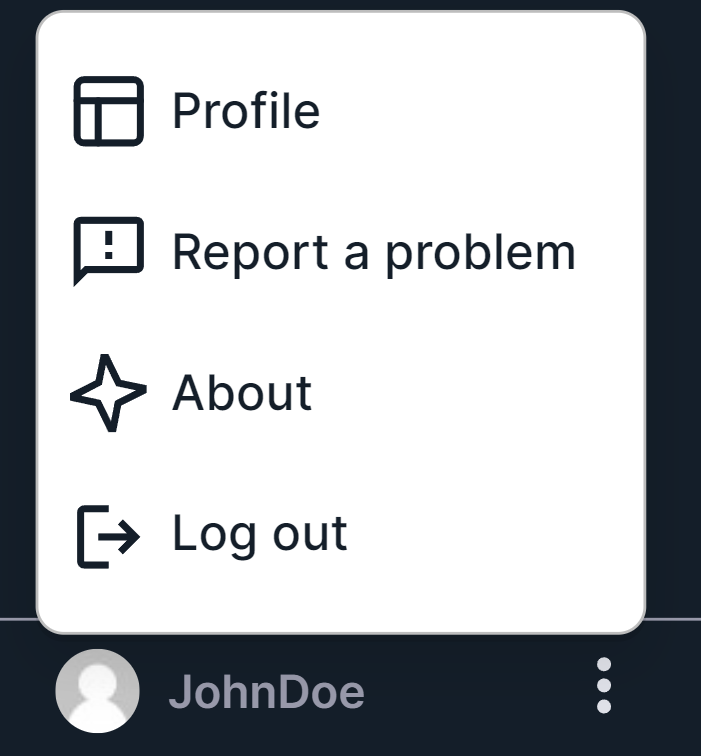
- "Profile" - opens your profile page where you can find and change your account settings (email, login, password), navigation panel settings, patient page settings, SNV and CNV Viewers settings.
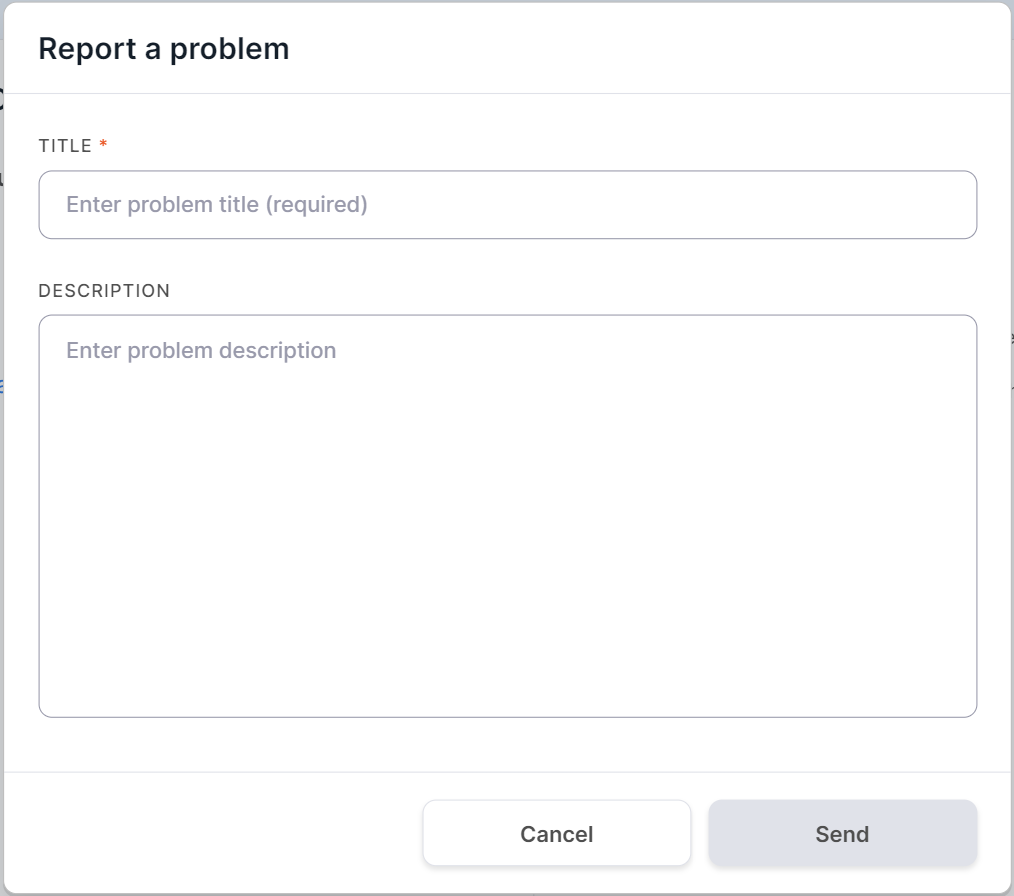
- "Report a problem" - opens a window for sending information about your problem to the System administrator:
- "About" - opens a window with information about the Program, including information about the versions of server, client and annotation databases.
- "Log out" - logs the user out of the System.